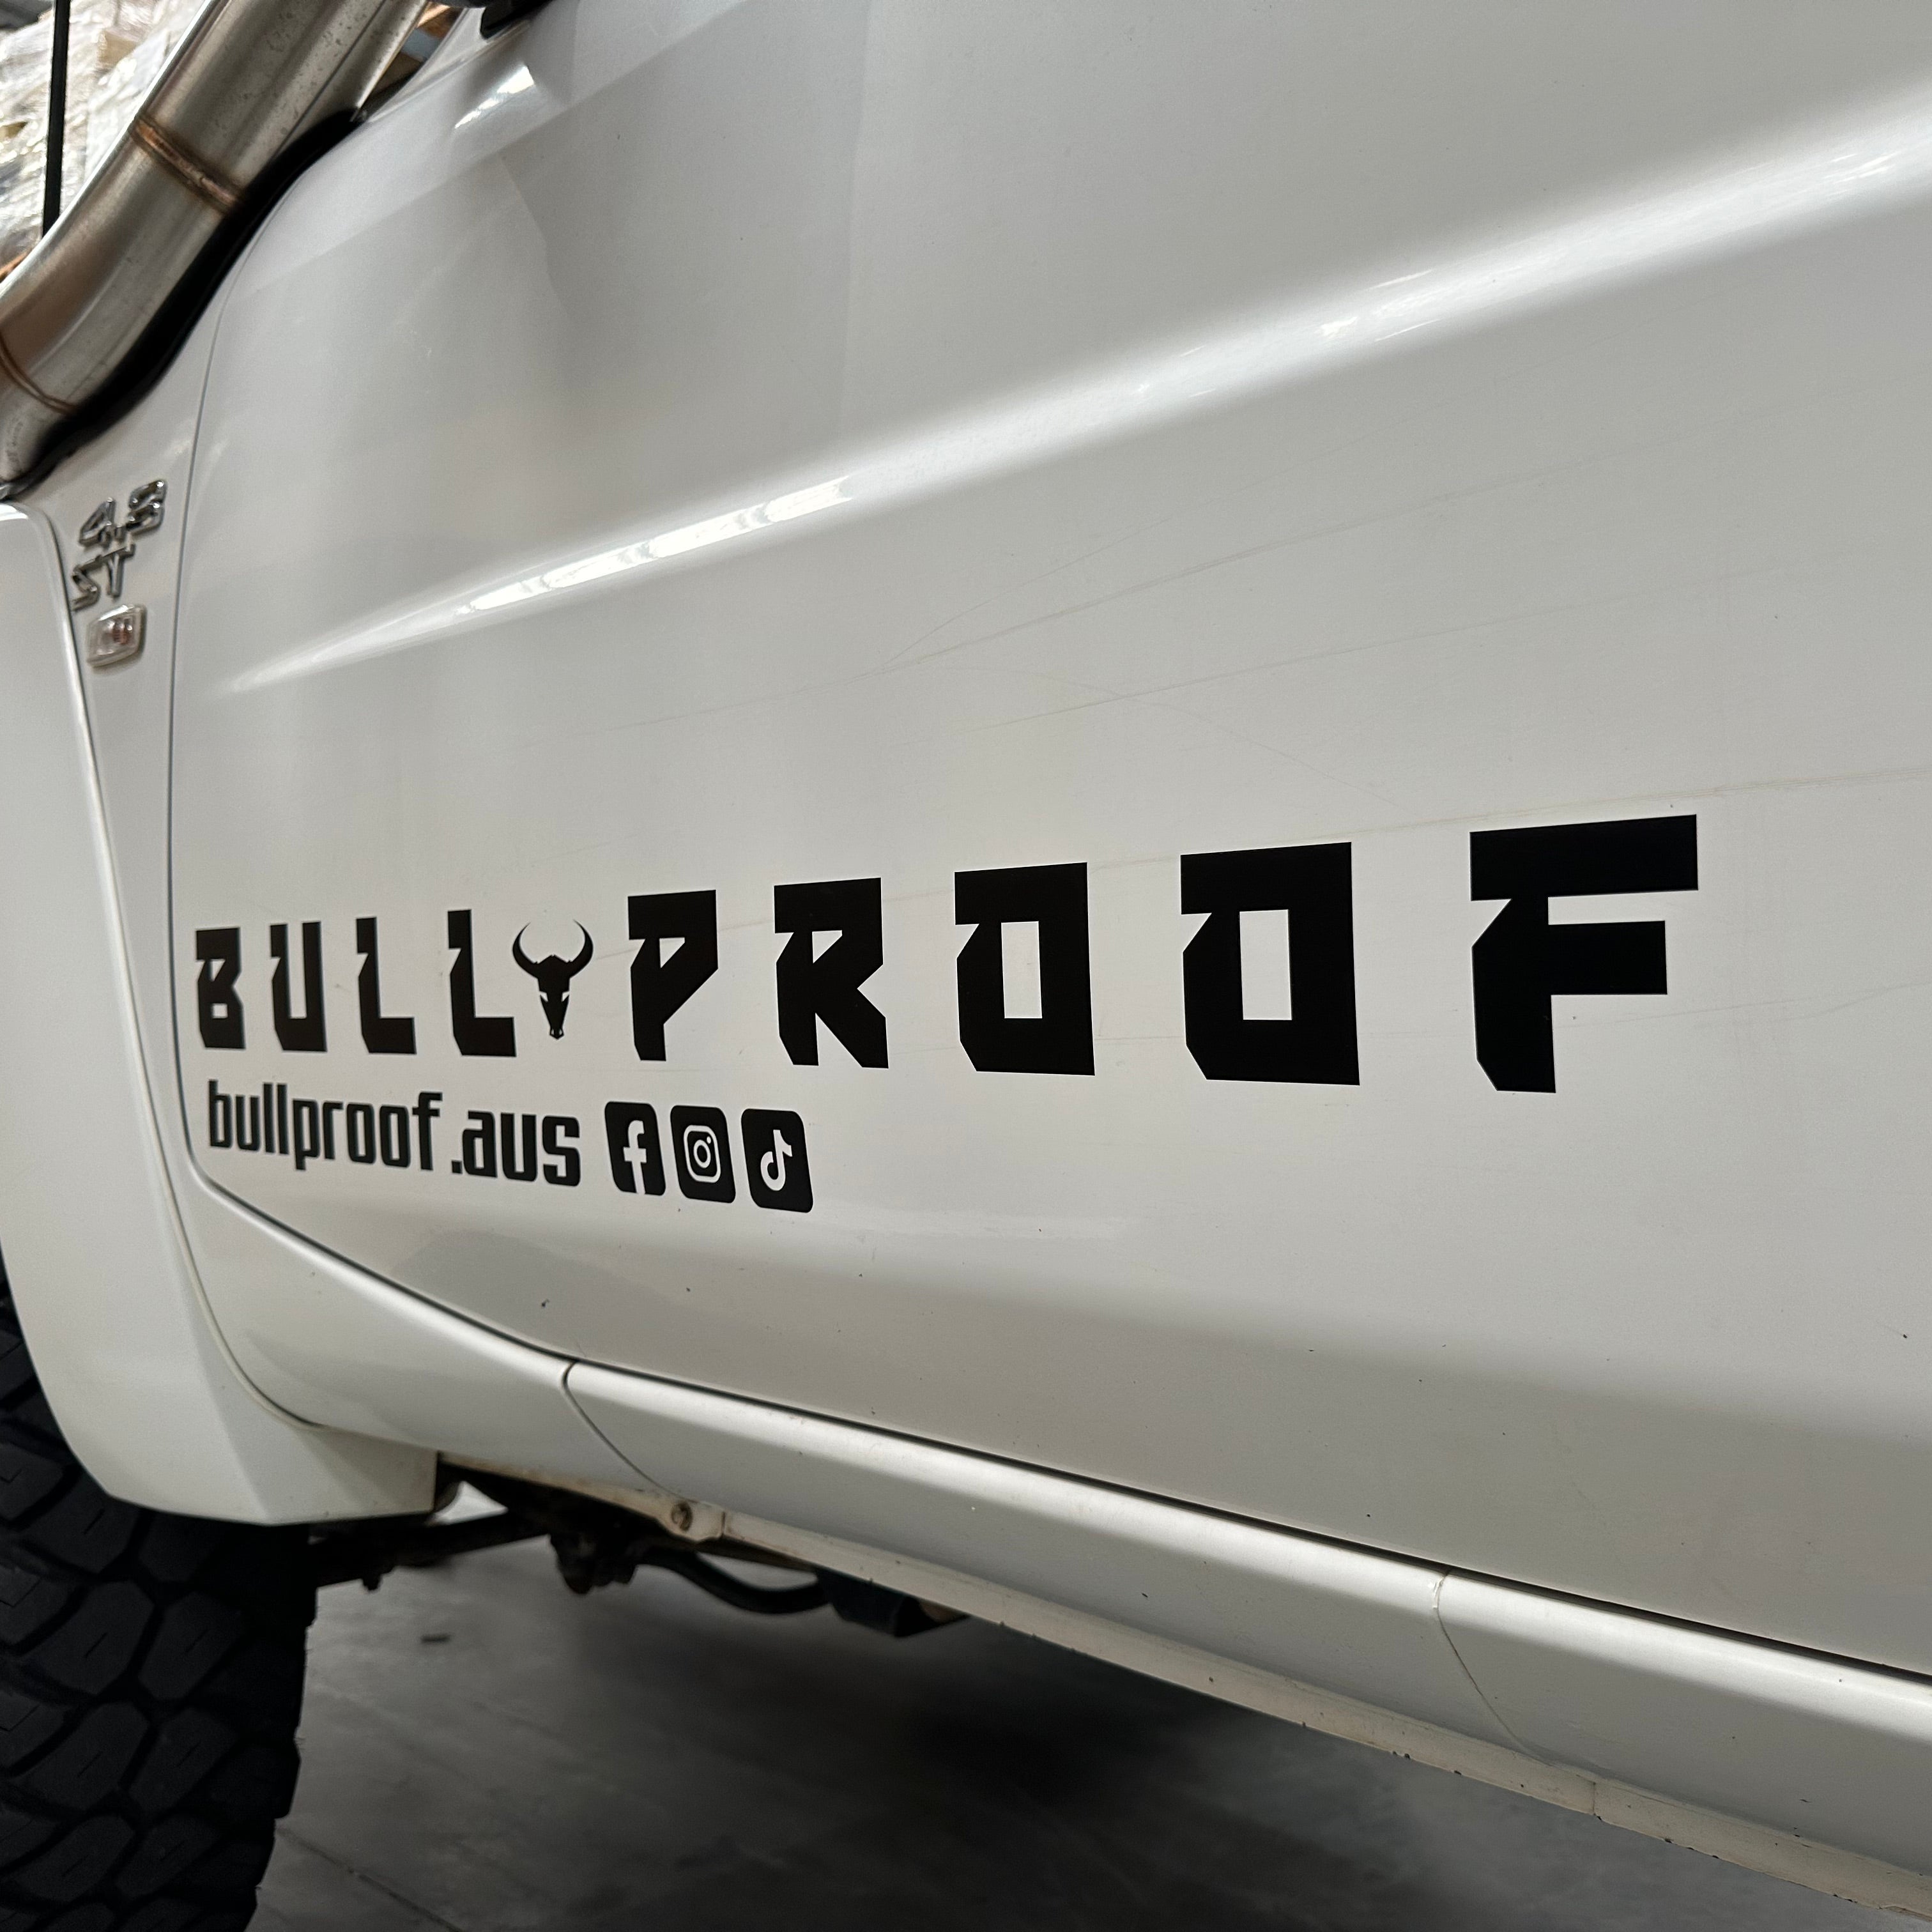
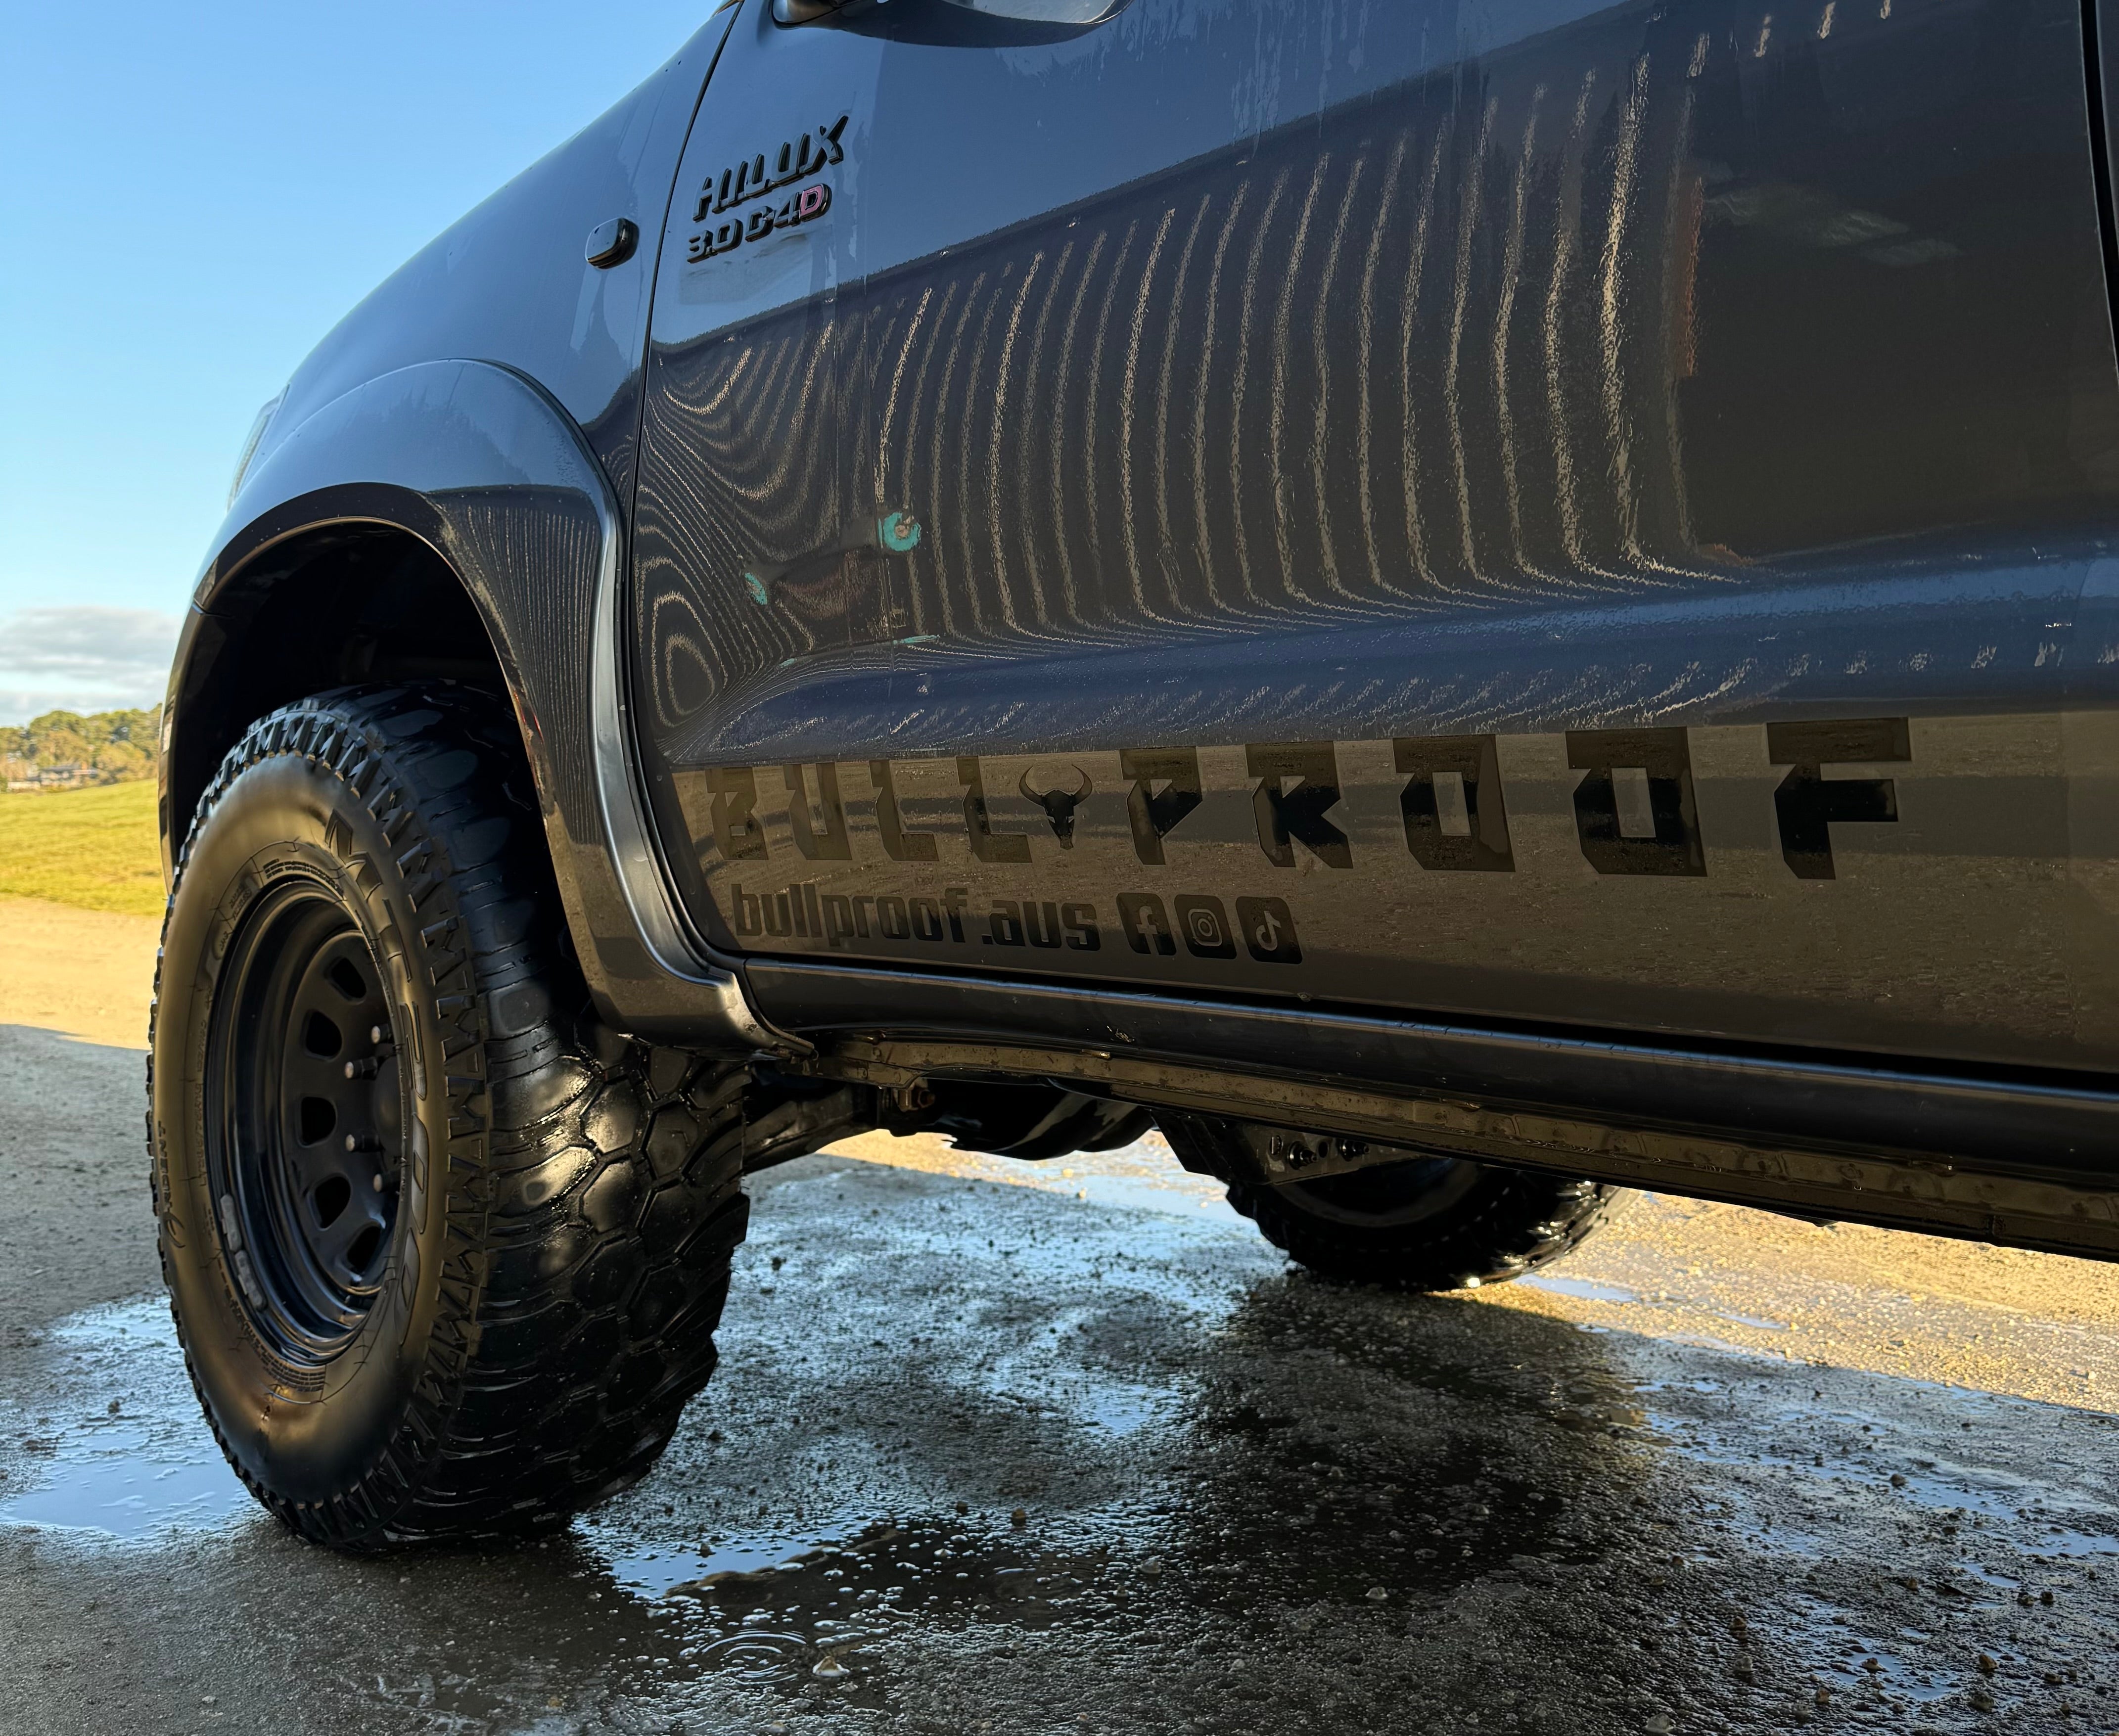
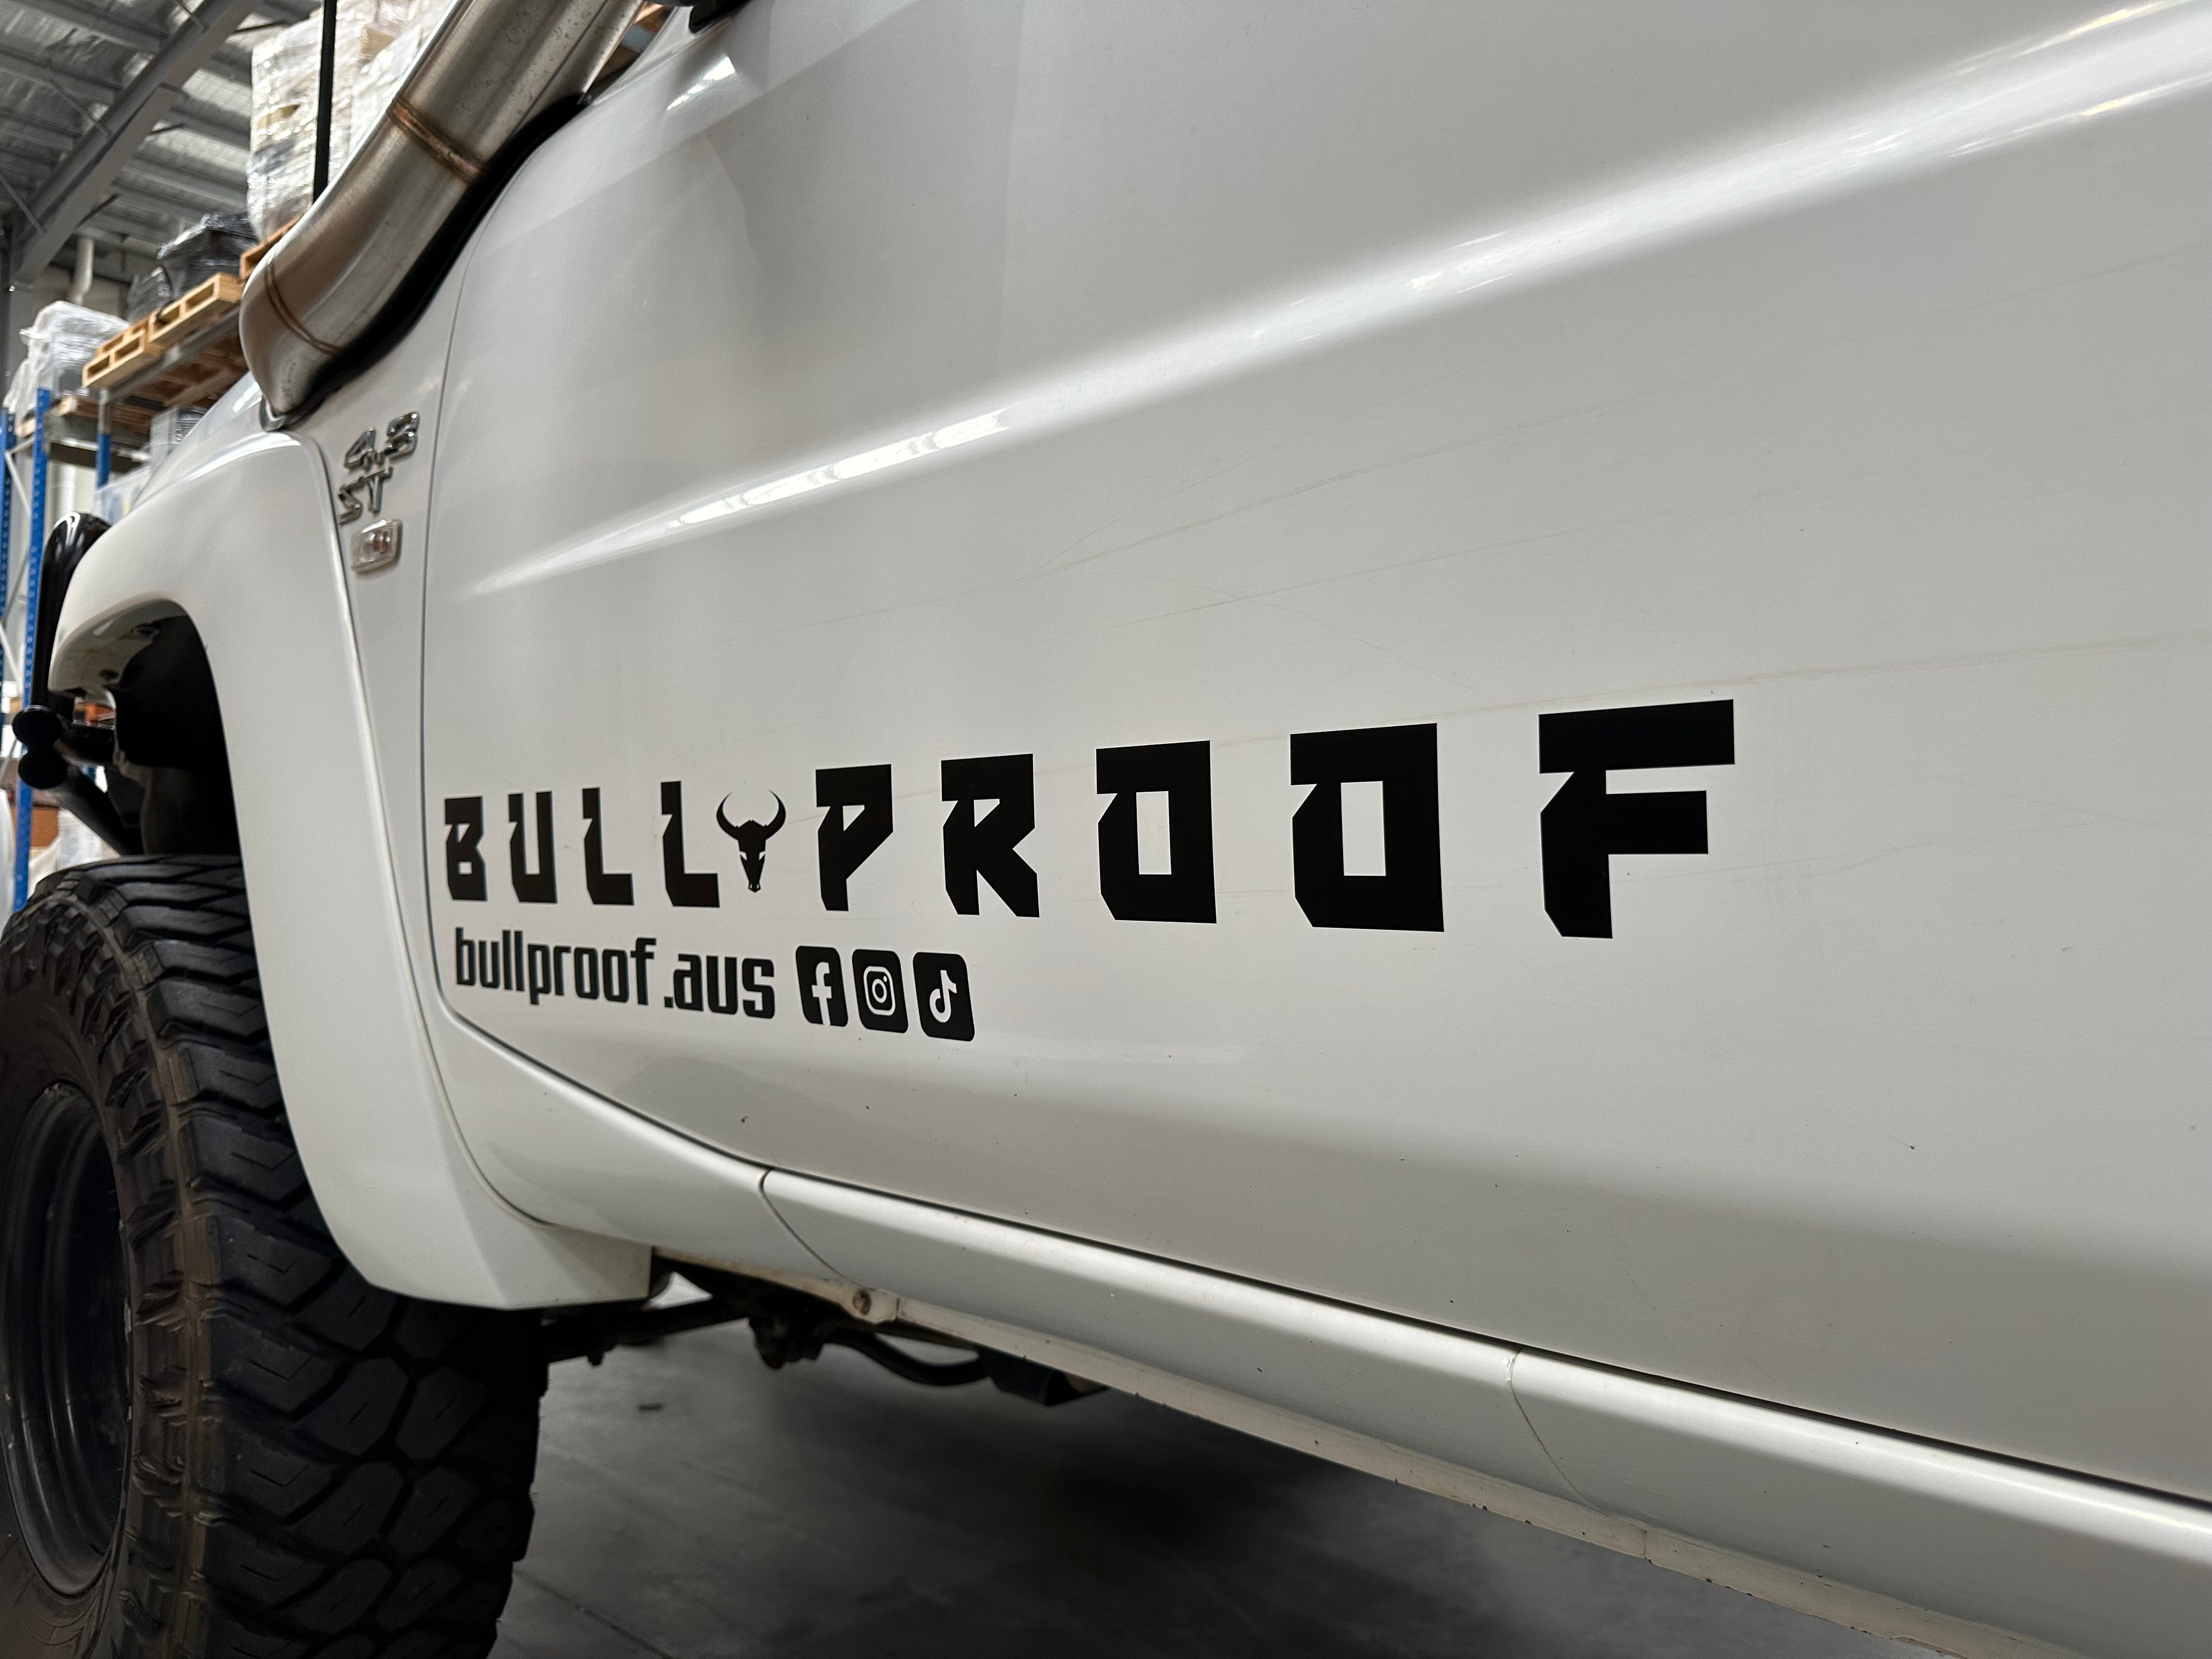
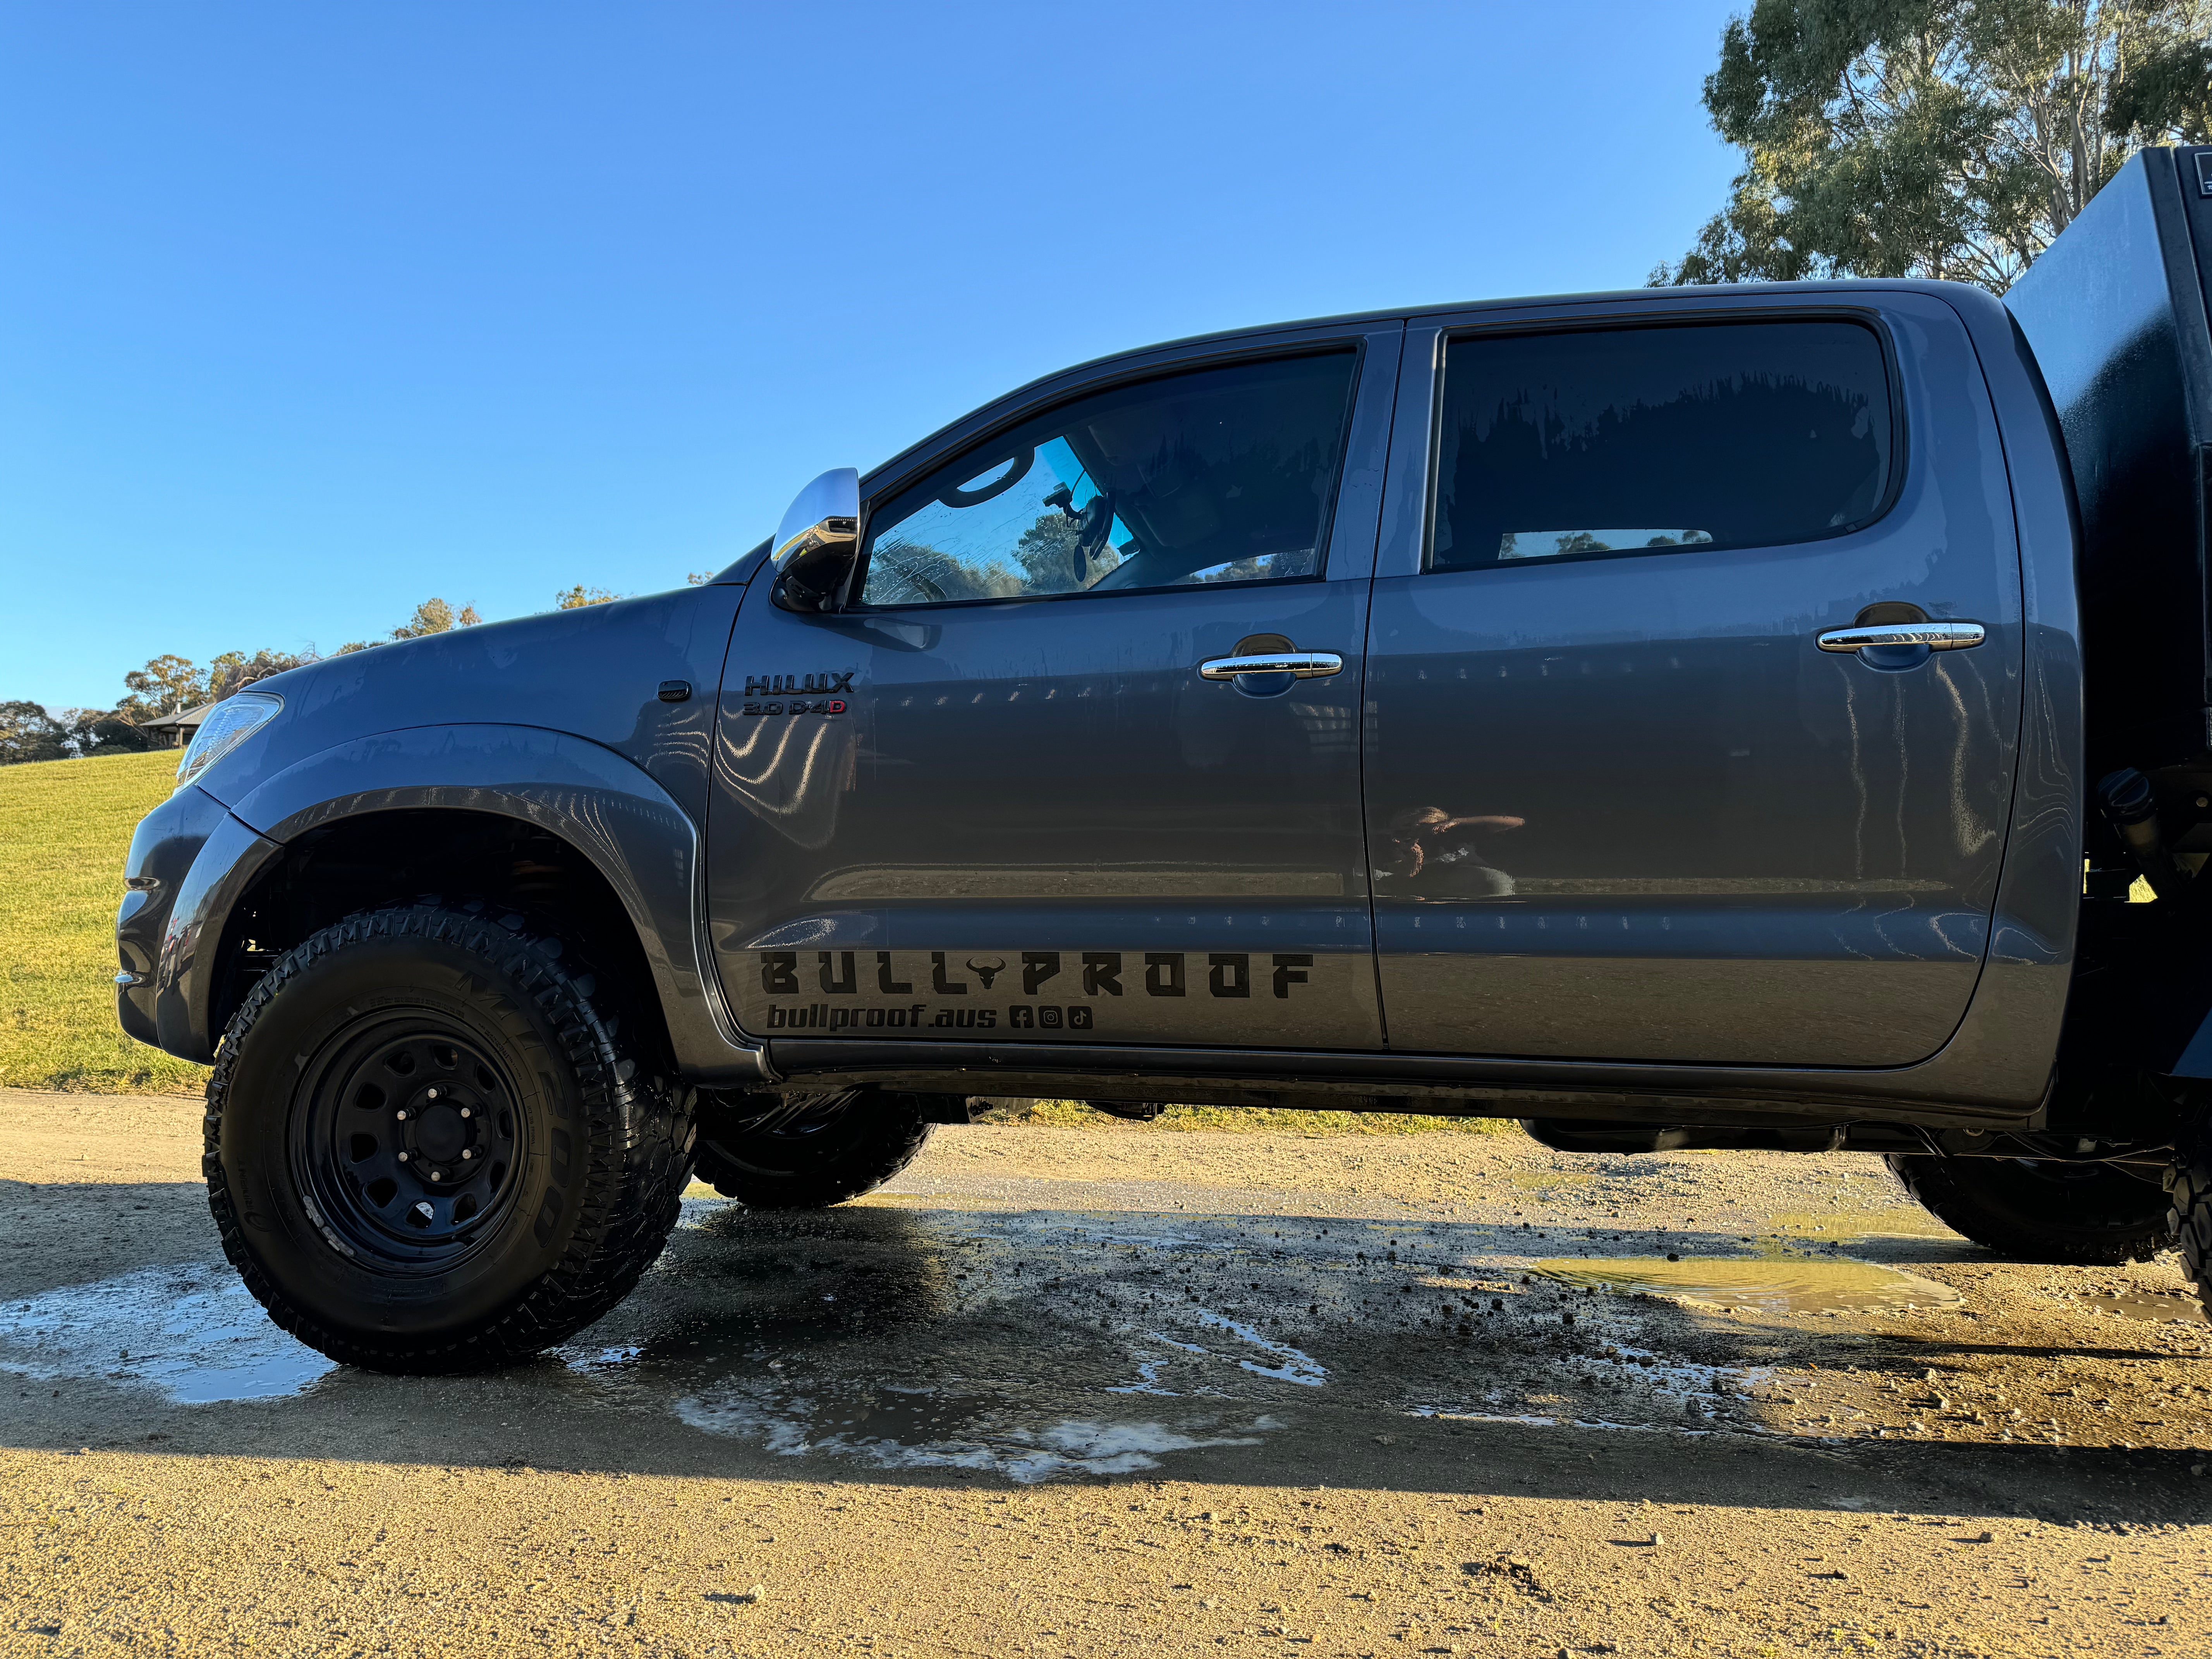
Sticker application is crucial for its longevity. Without prepping your surface well, the sticker is likely to have a poor application and come off easily. Check out our steps below to avoid this happening to yours!
Surface Prep
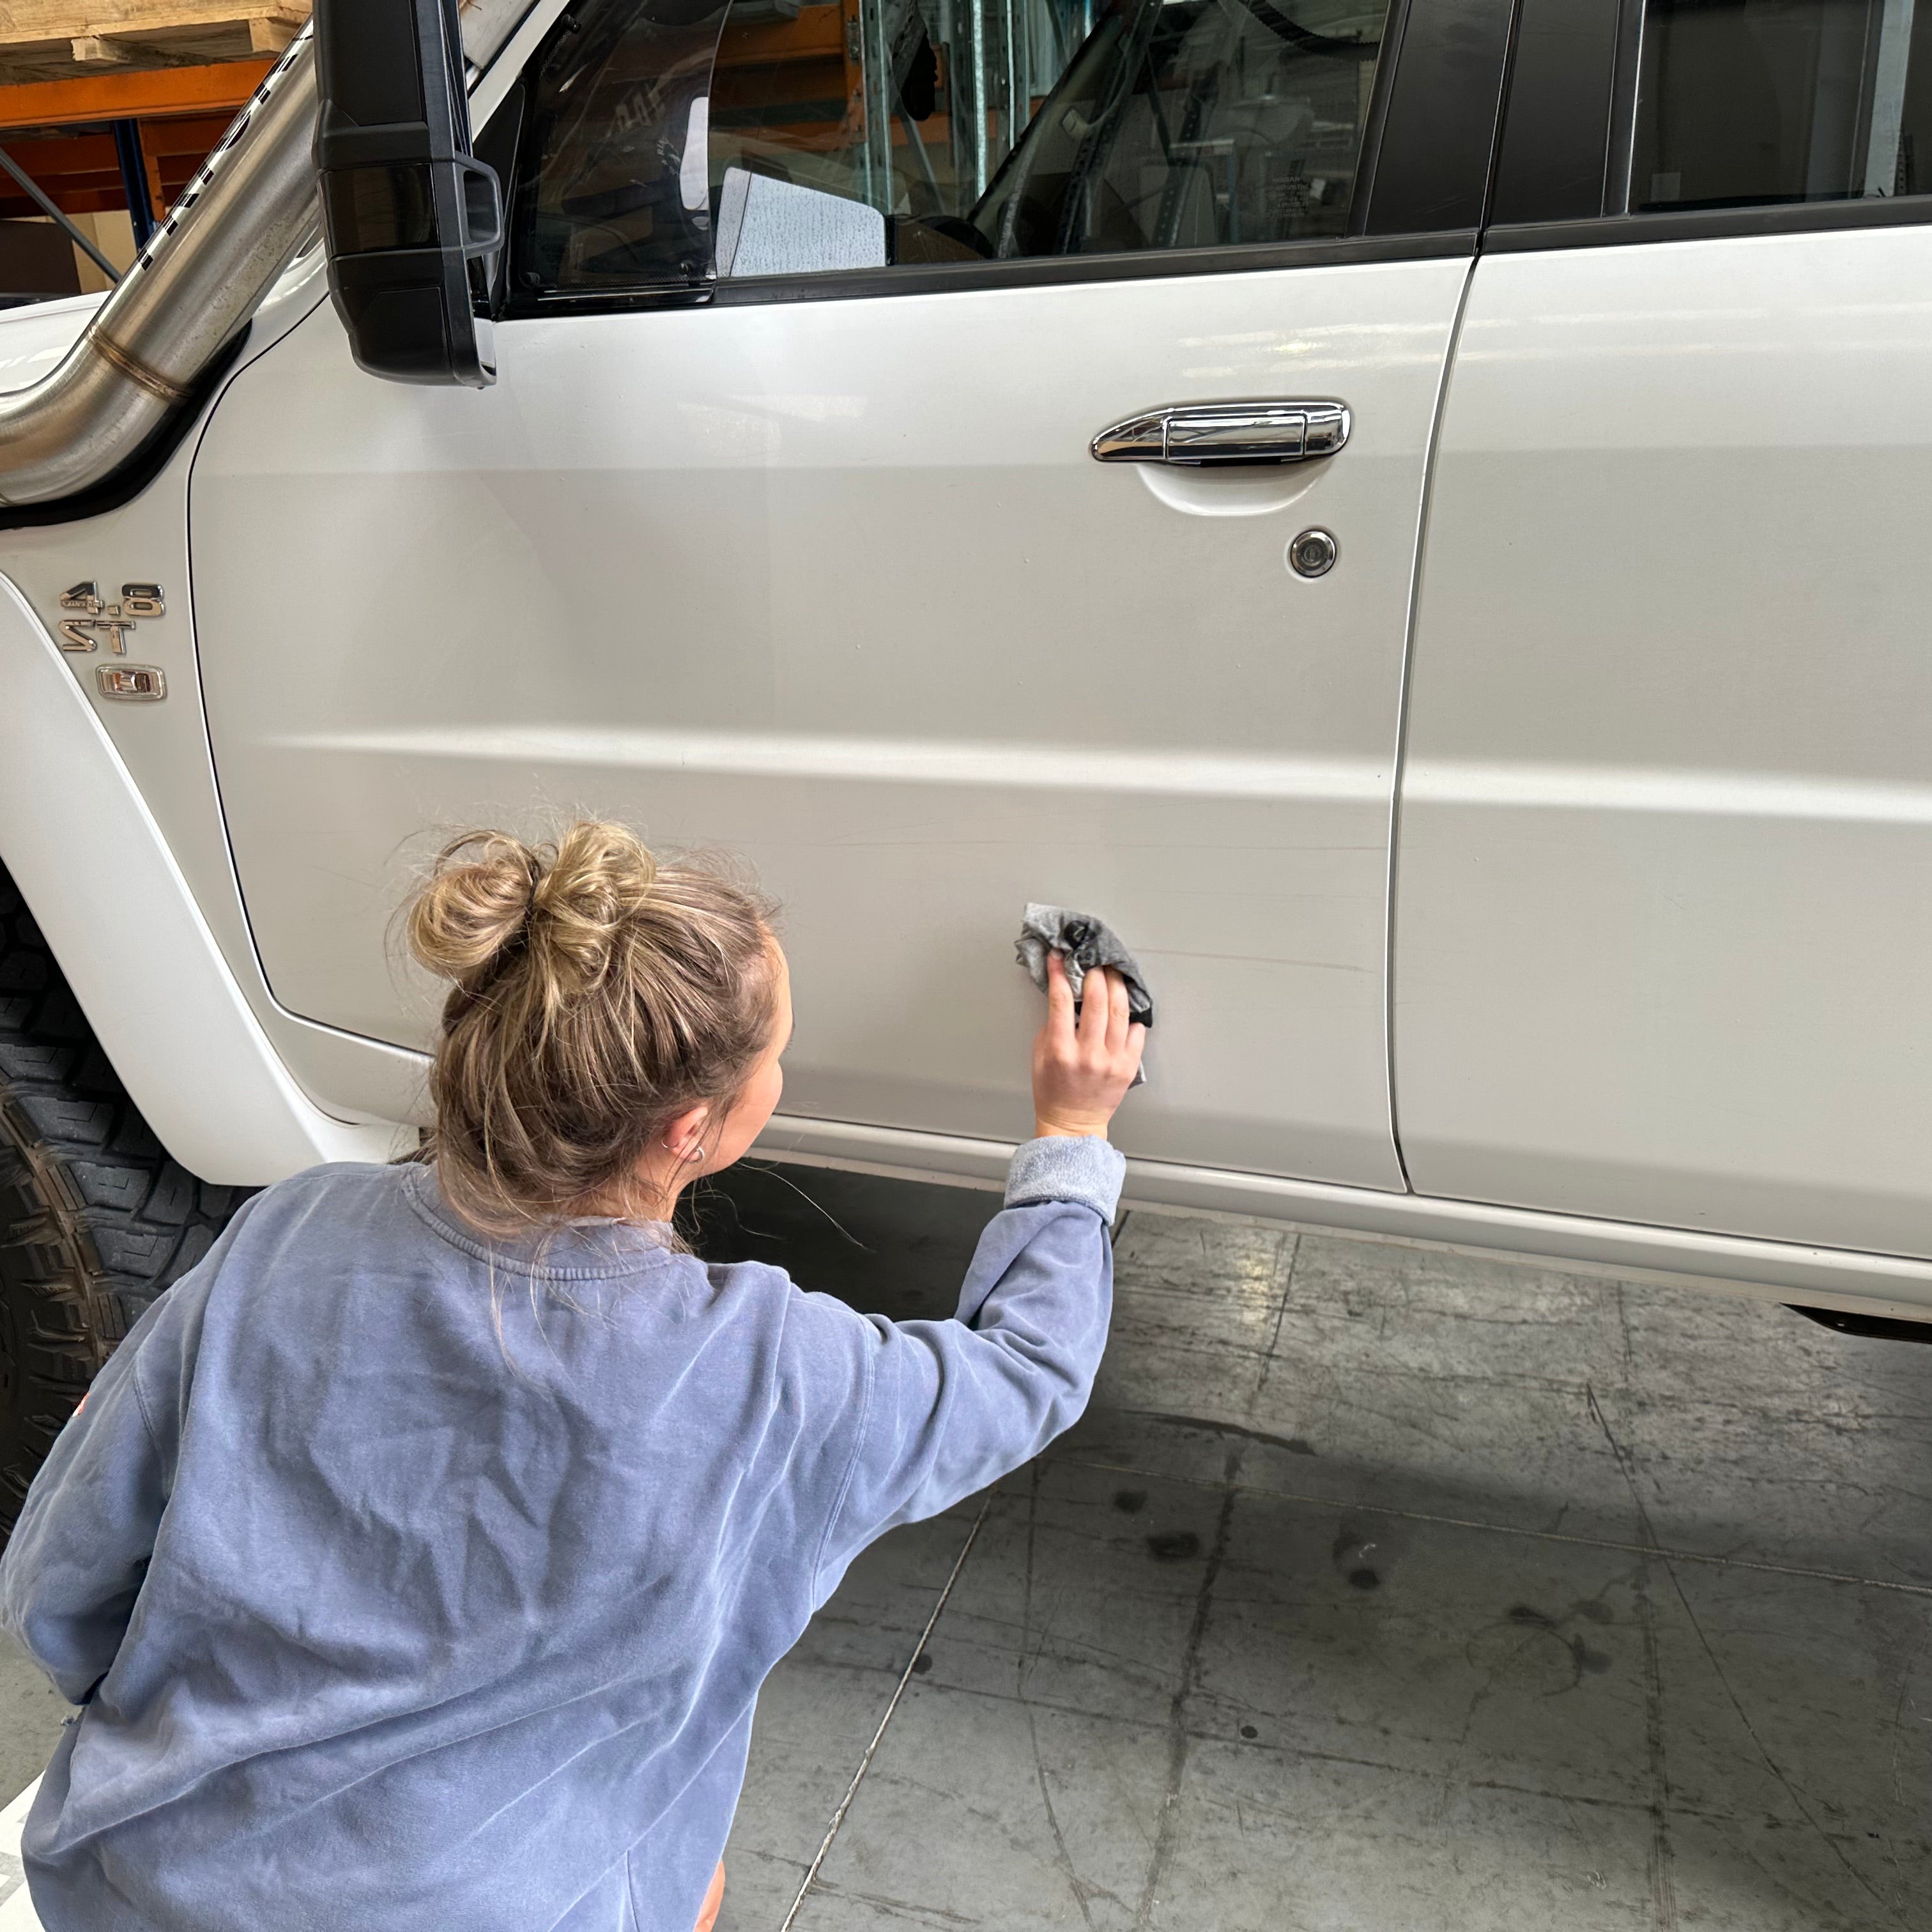
This step is vital for the longevity of your sticker. You need to ensure NO dirt, dust, moisture, grease or residue is on the surface you're about to stick on to. We recommend using a clean microfibre cloth and isopropyl rubbing alcohol. Soap & water can be used if need be, just make sure no soap residue remains.
SURFACE MUST BE DRY BEFORE APPLICATION.
Sticker Prep
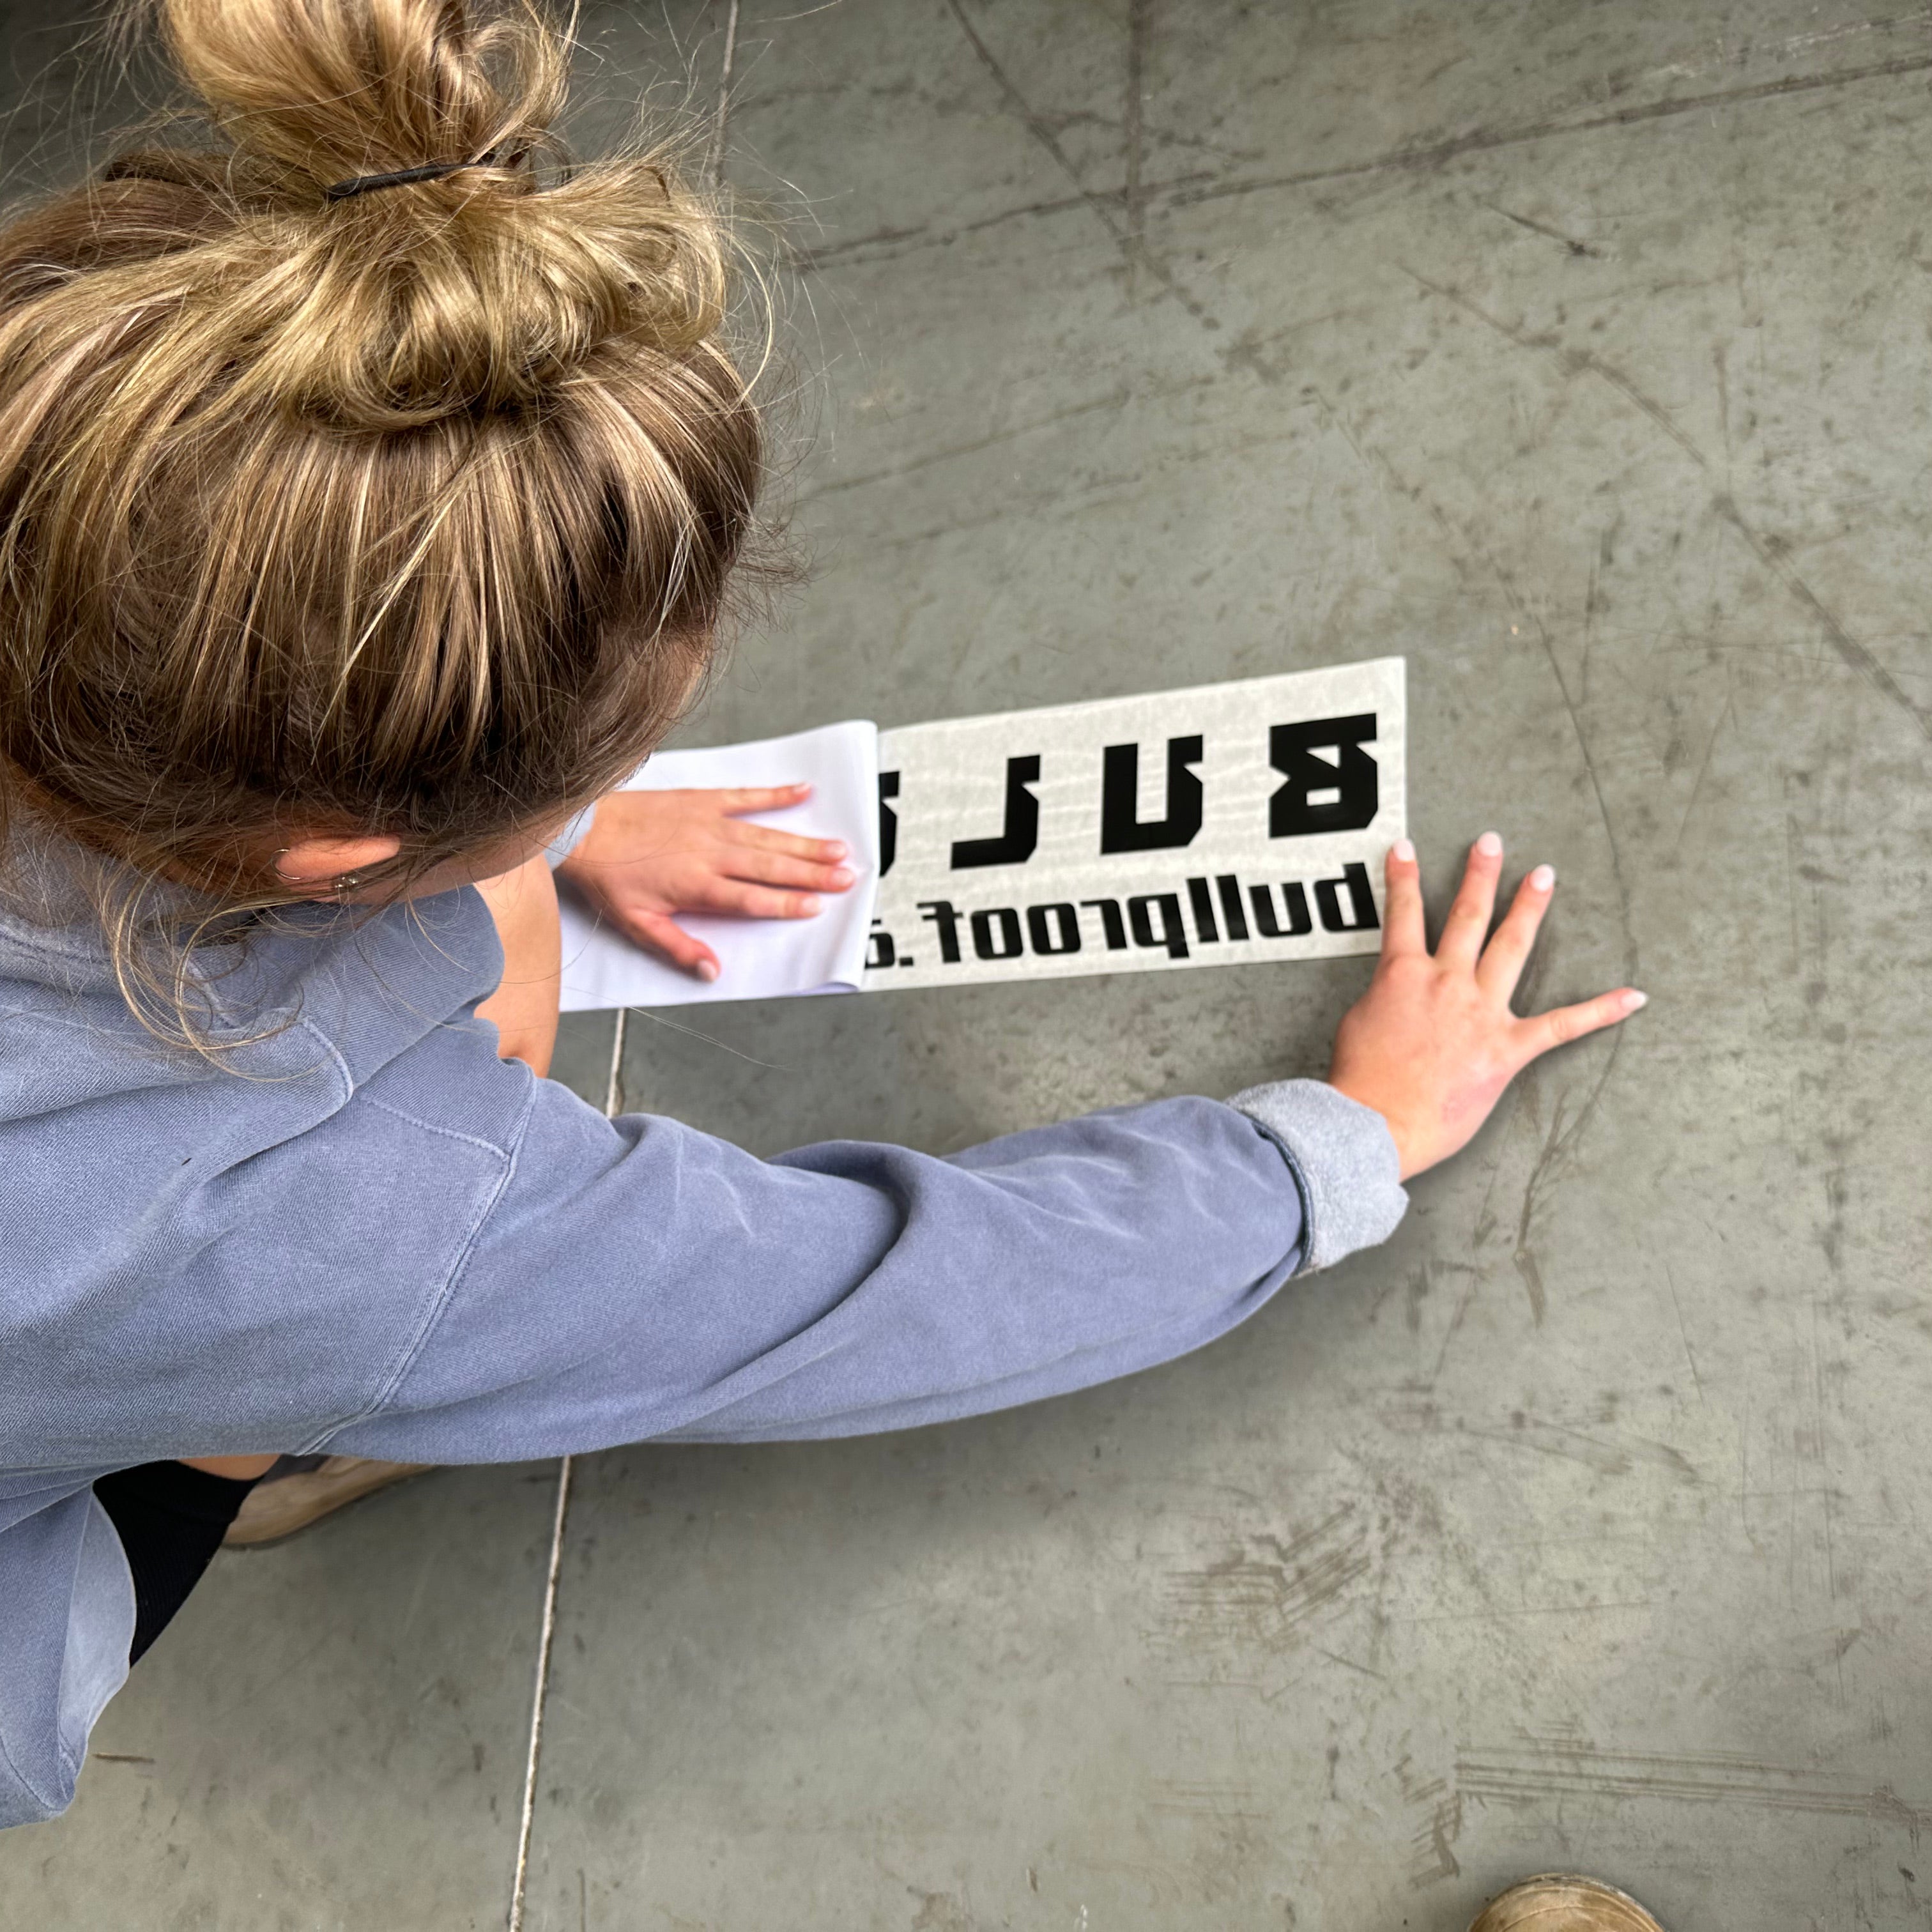
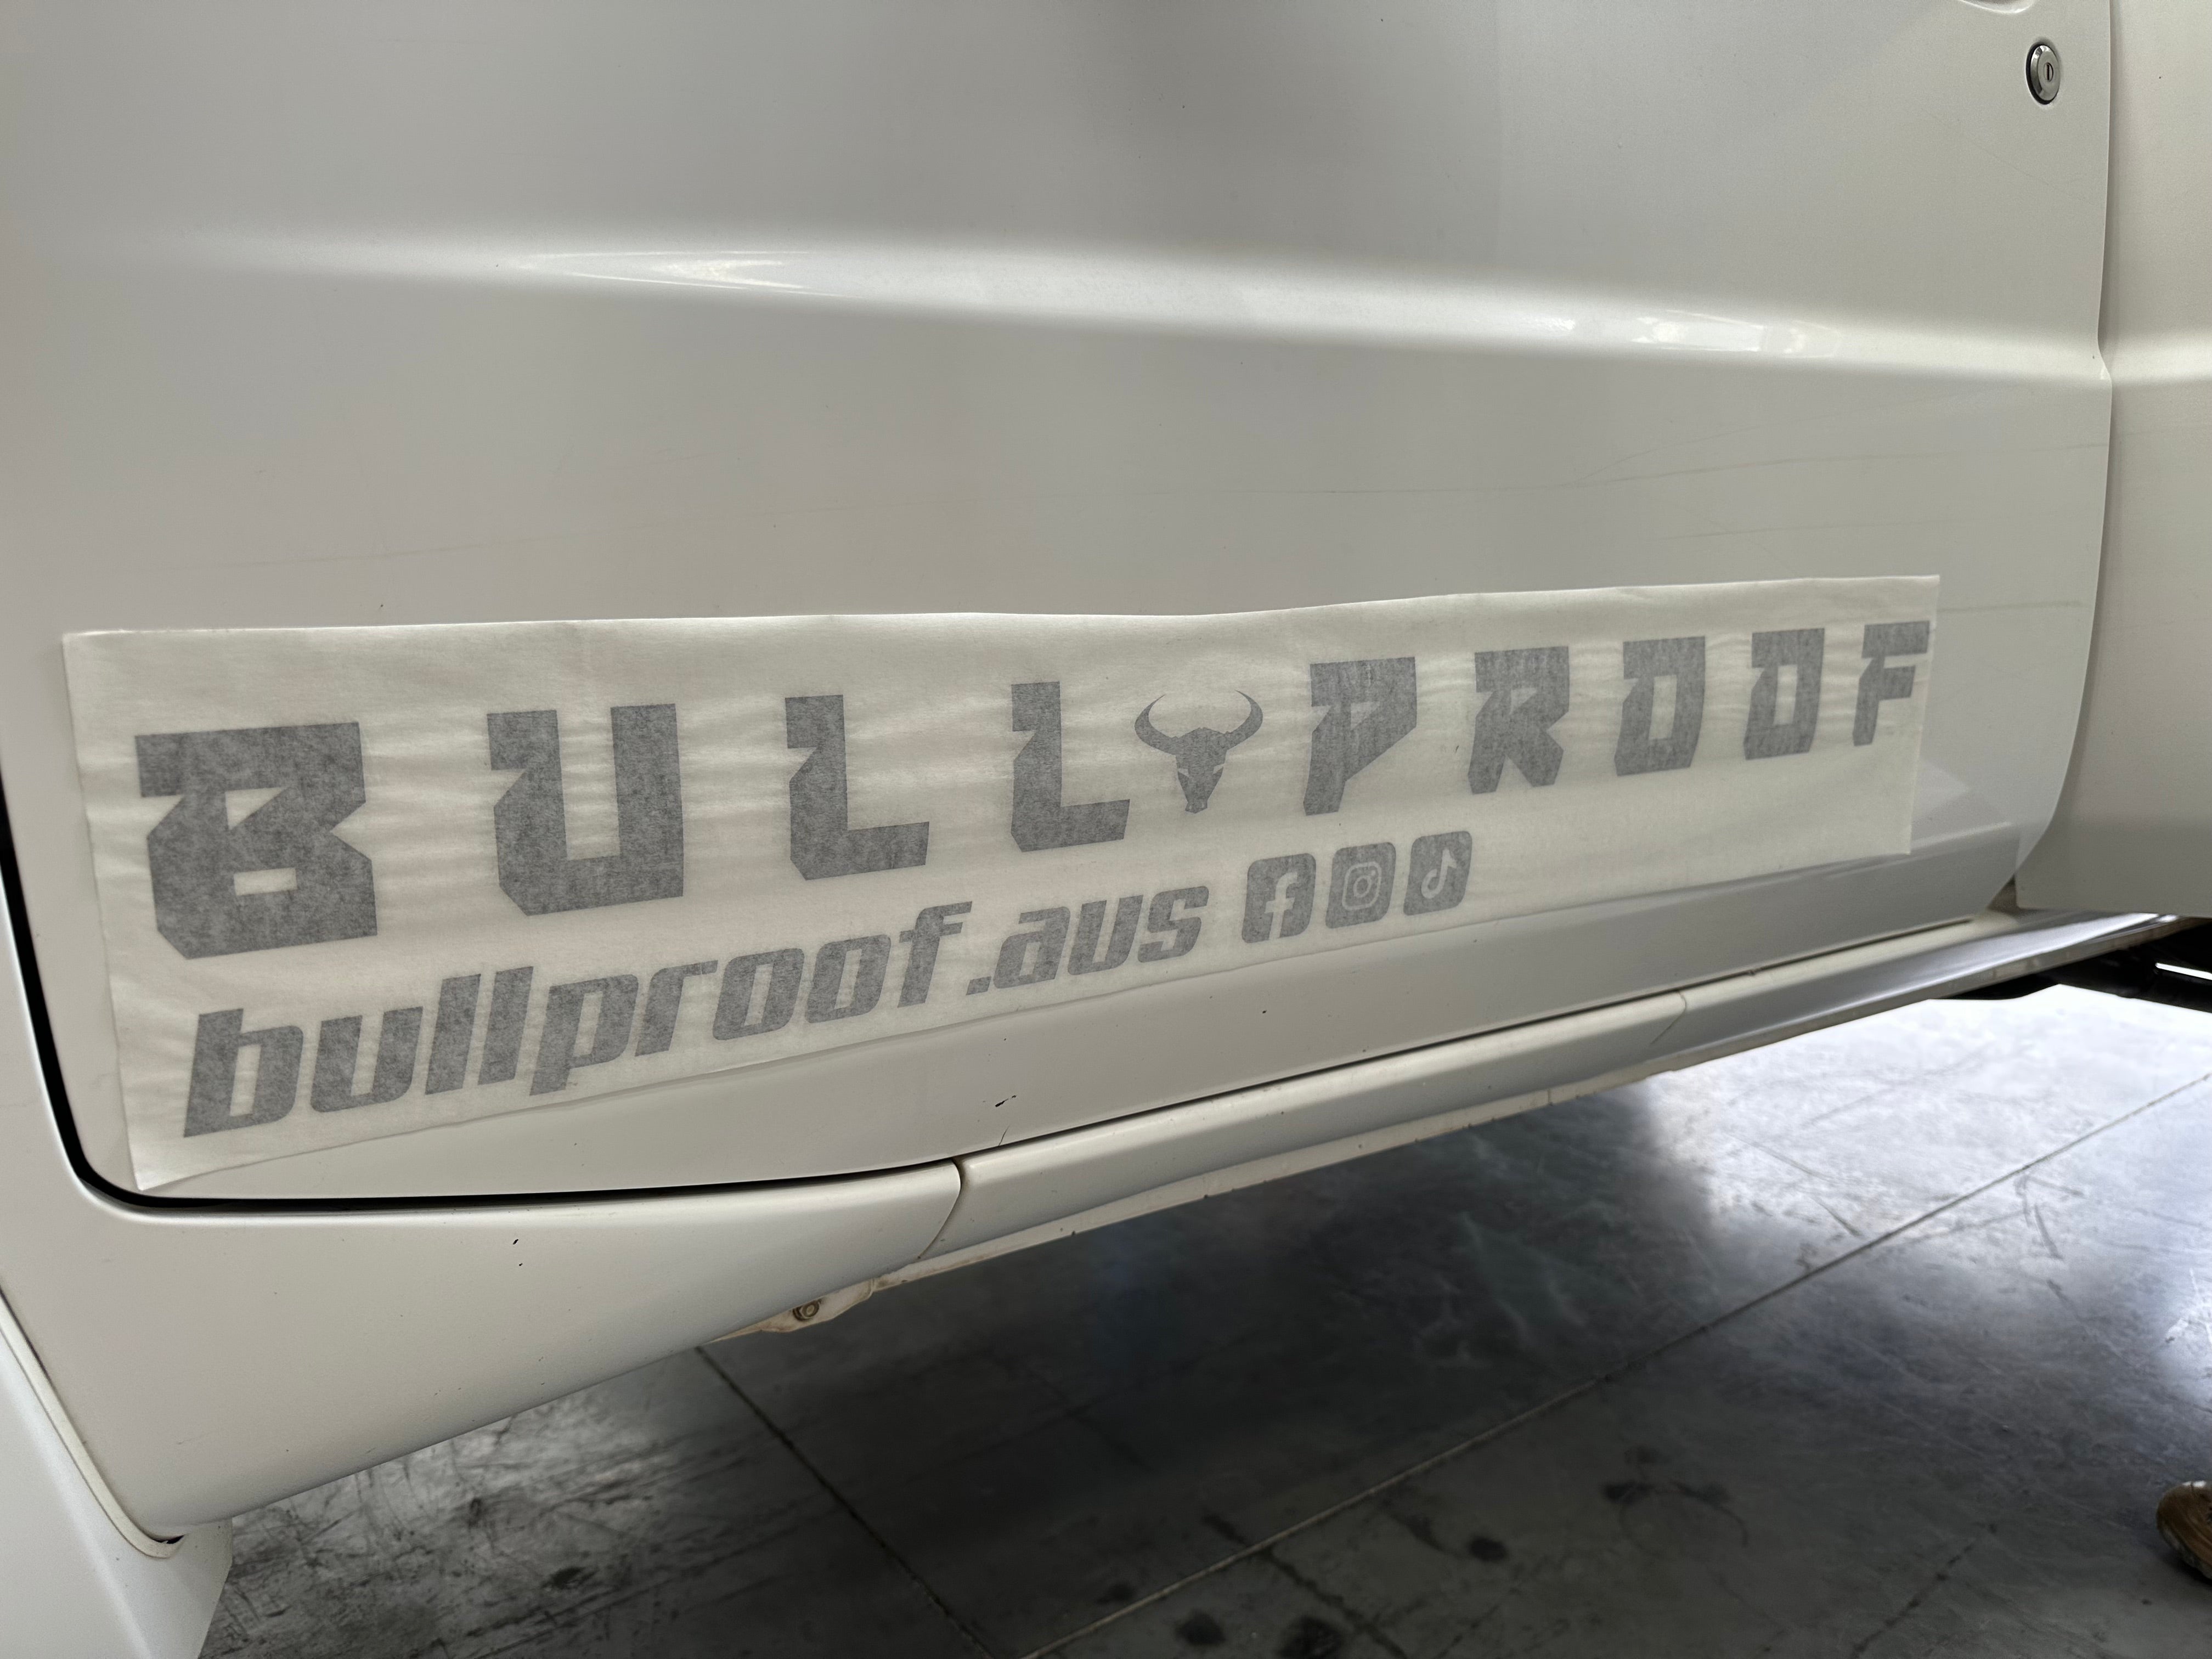
Carefully peel the backing paper off the sticker by lying the application tape side flat on the ground. Use your fingers to push against the backing paper are you gently slide it off, forcing the sticker to cling to the application tape.
If you notice the sticker beginning to peel up off the application tape, softly push the backing paper back down, and apply pressure in that spot for the sticker to re-attach to application tape.
Line Sticker Up
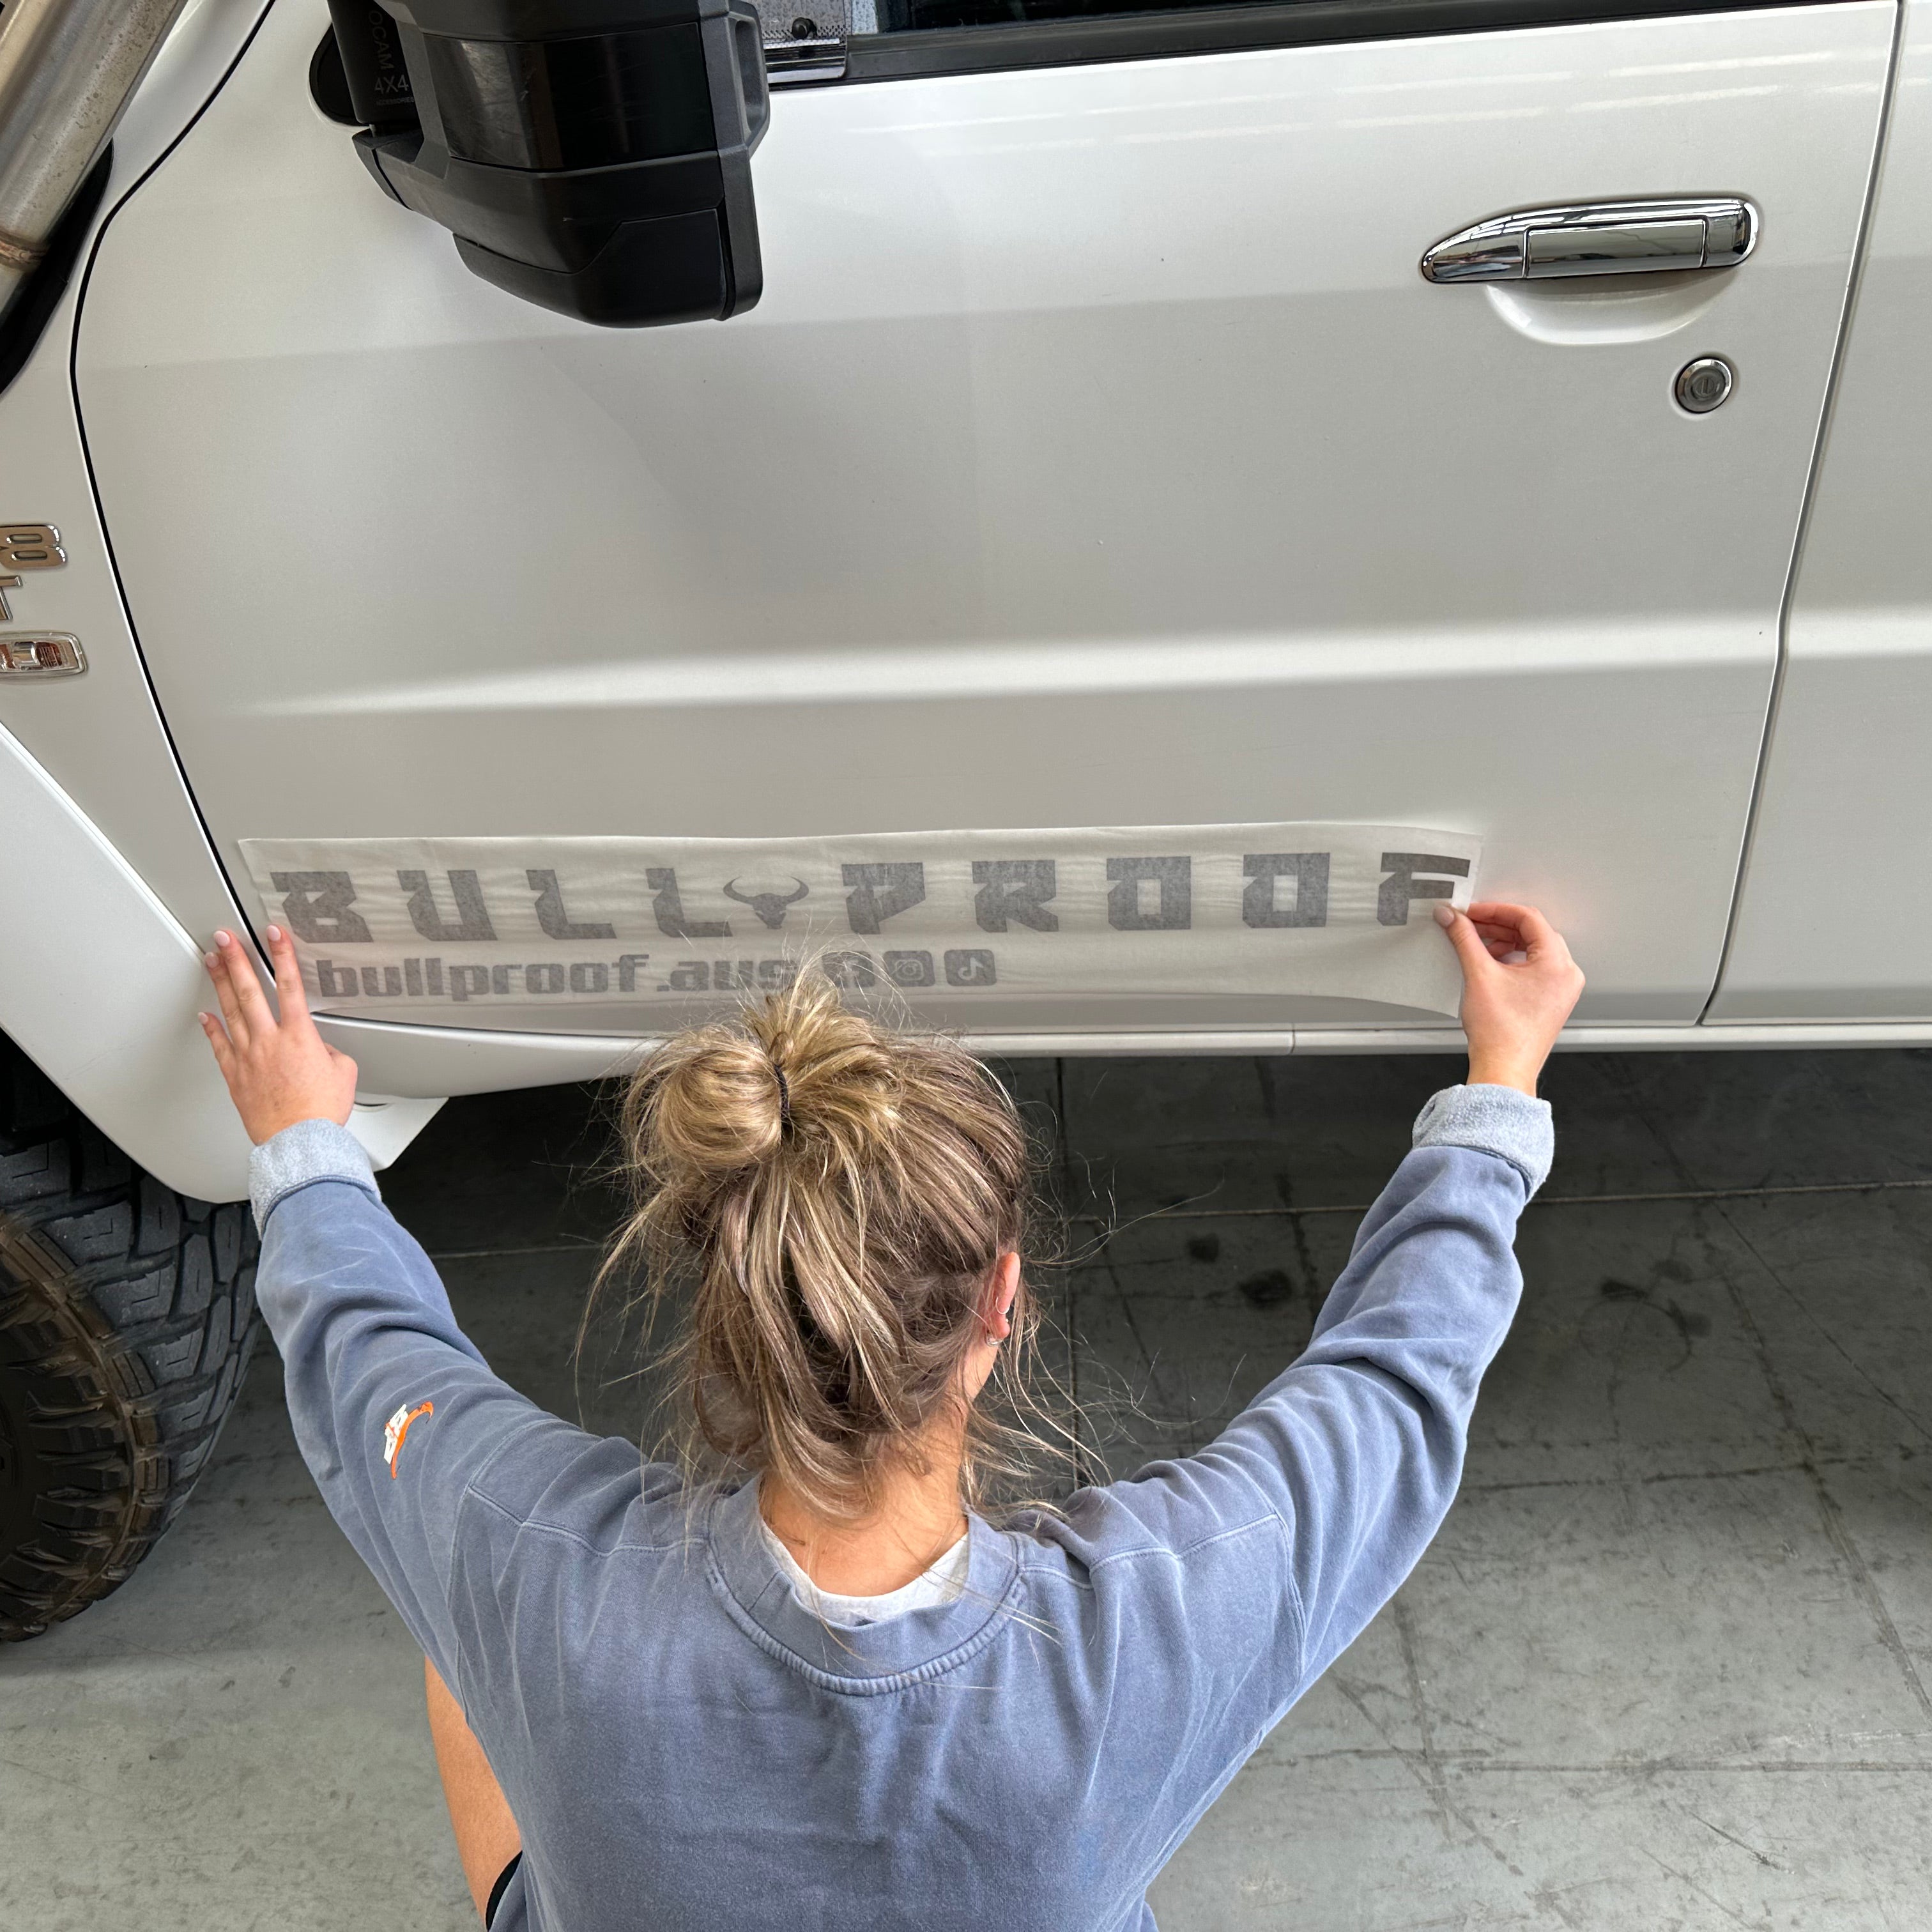
Line your sticker up in the desired location and angle. Make sure you don't put your fingers on the sticker, and only on the application tape. This way you can place the sticker softly on the surface, only pressing on the spots where your finger are holding. Take a step back, and make sure you are satisfied with the placement before going over it with a card/squeegee.
Press Firmly
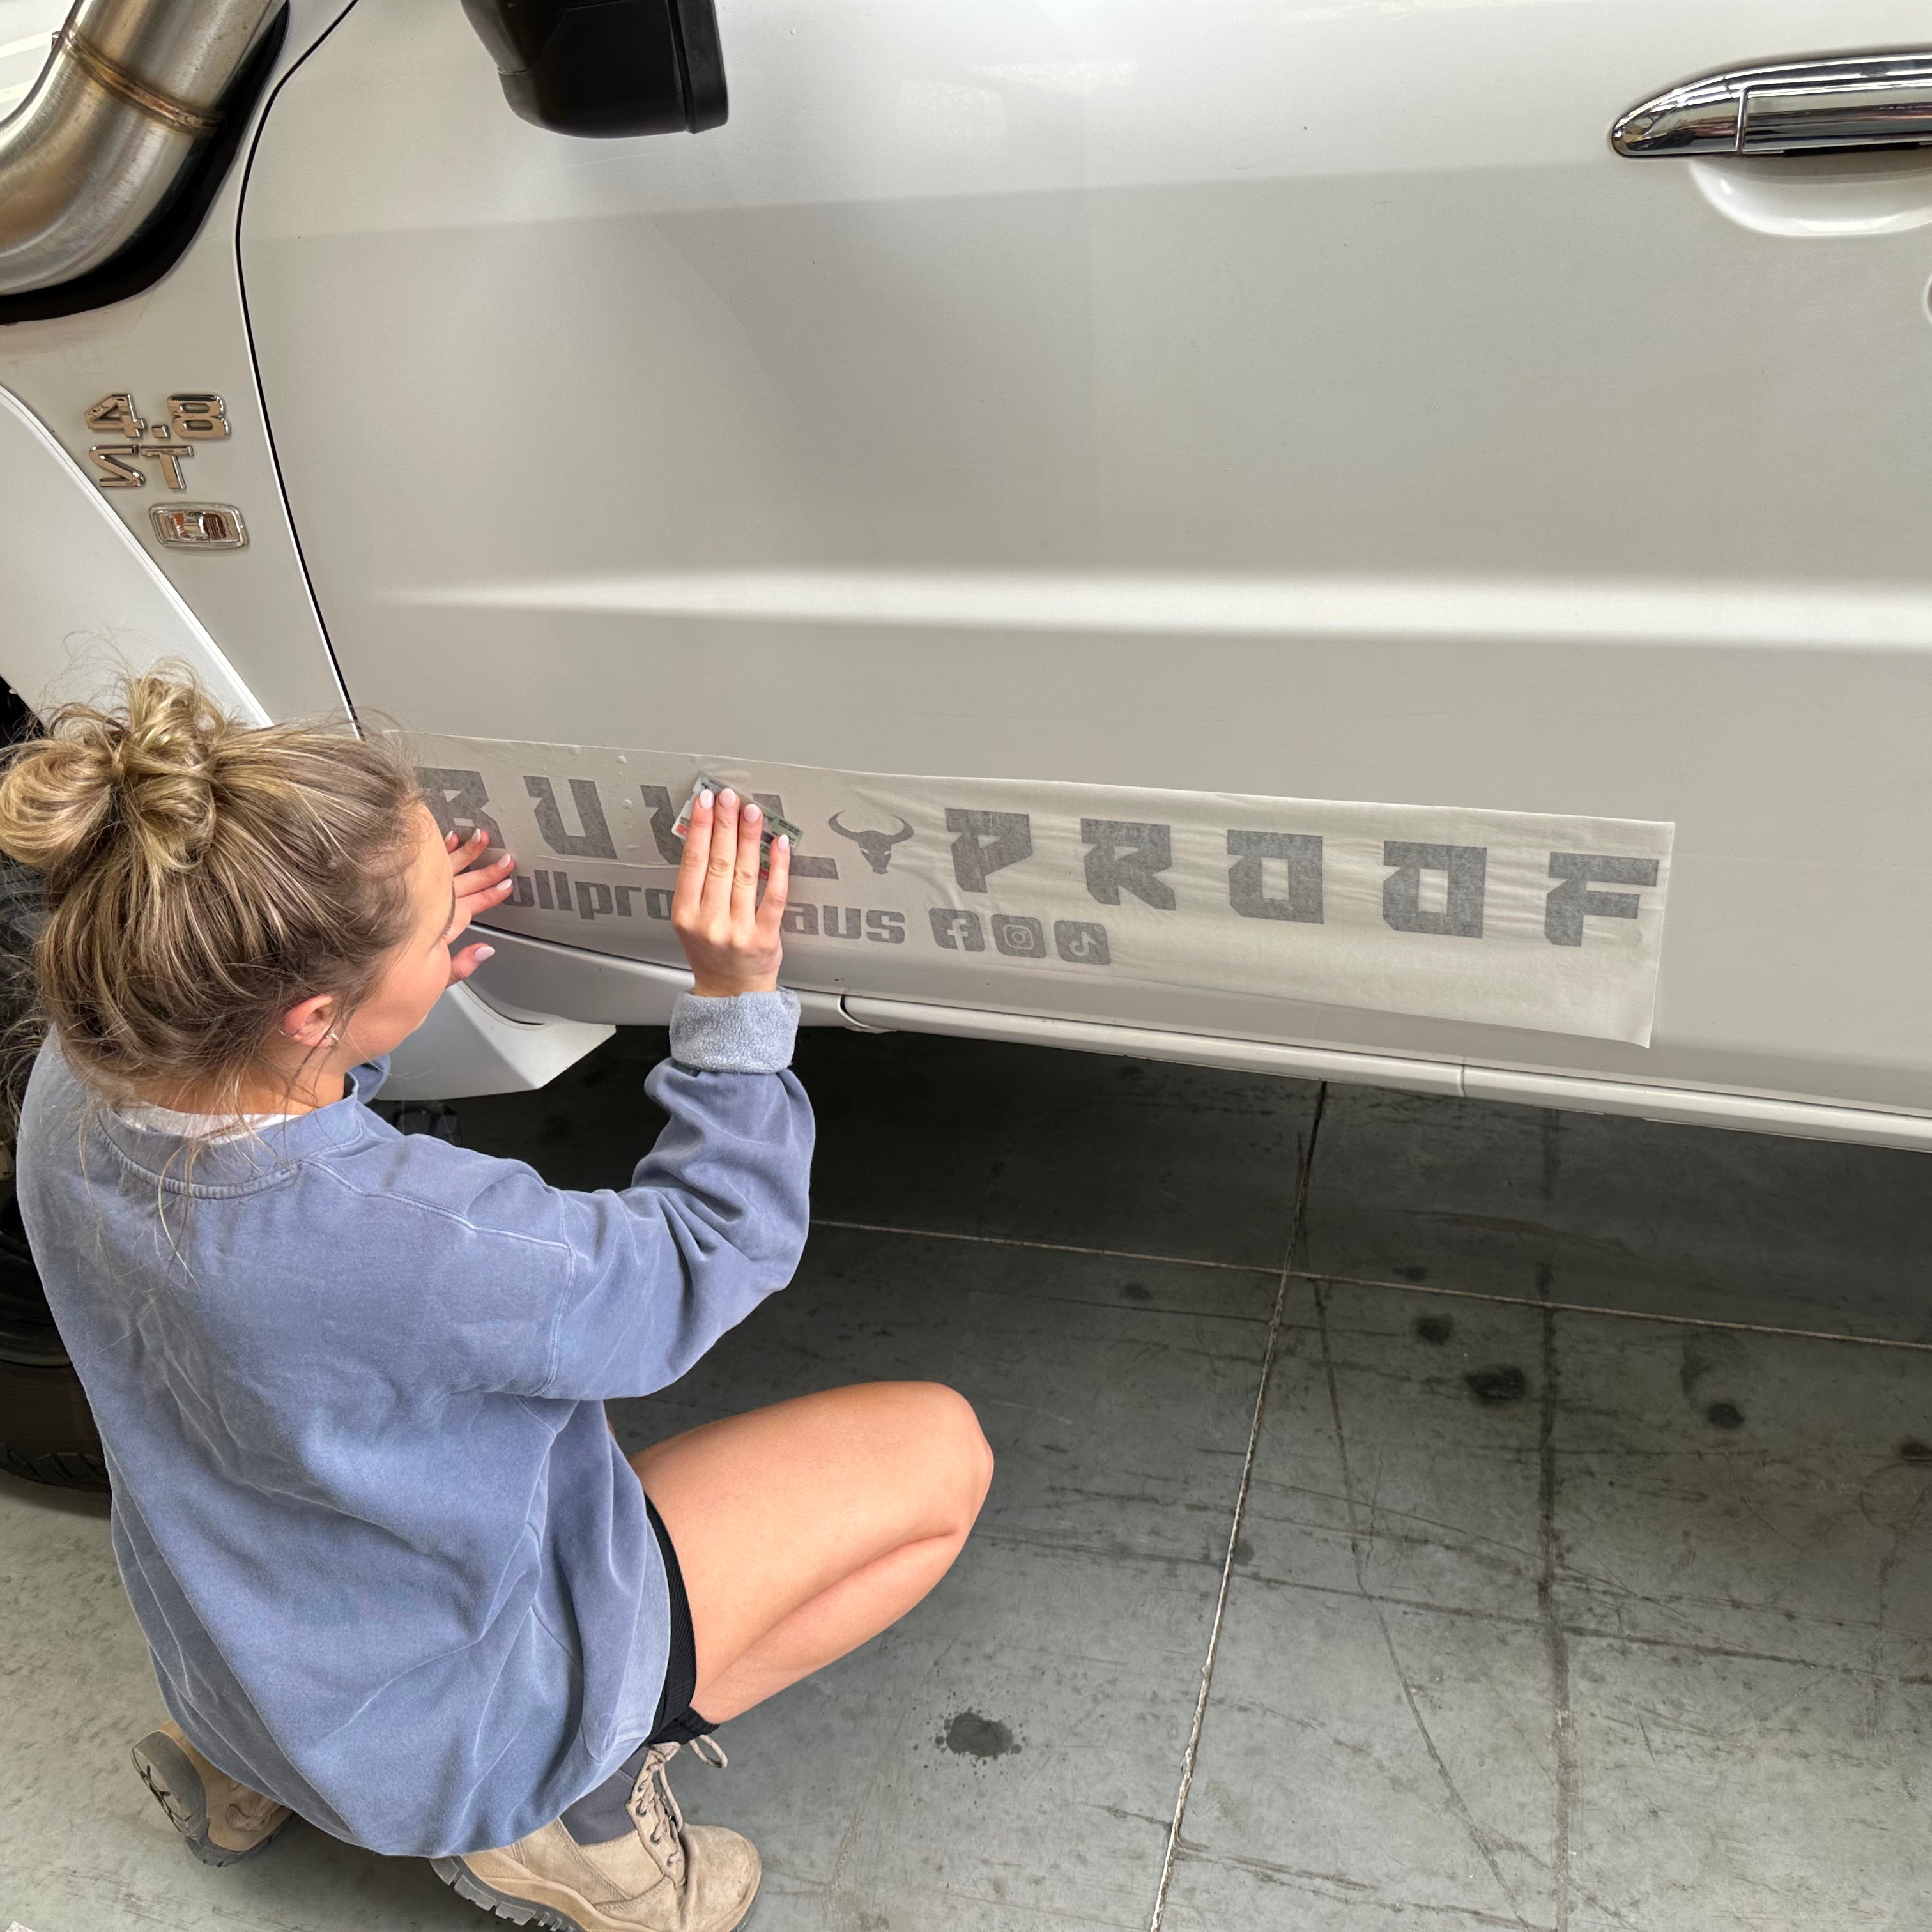
Once happy with your placement, work from the centre outwards with a squeegee, card or clean cloth. If there are air bubbles, try work them out to the edges (you can use a pin to remove large air bubbles after).
Wait 10-15 minutes before the next step. This time allows for sufficient adhesion of the sticker.
Peel Application Tape Off
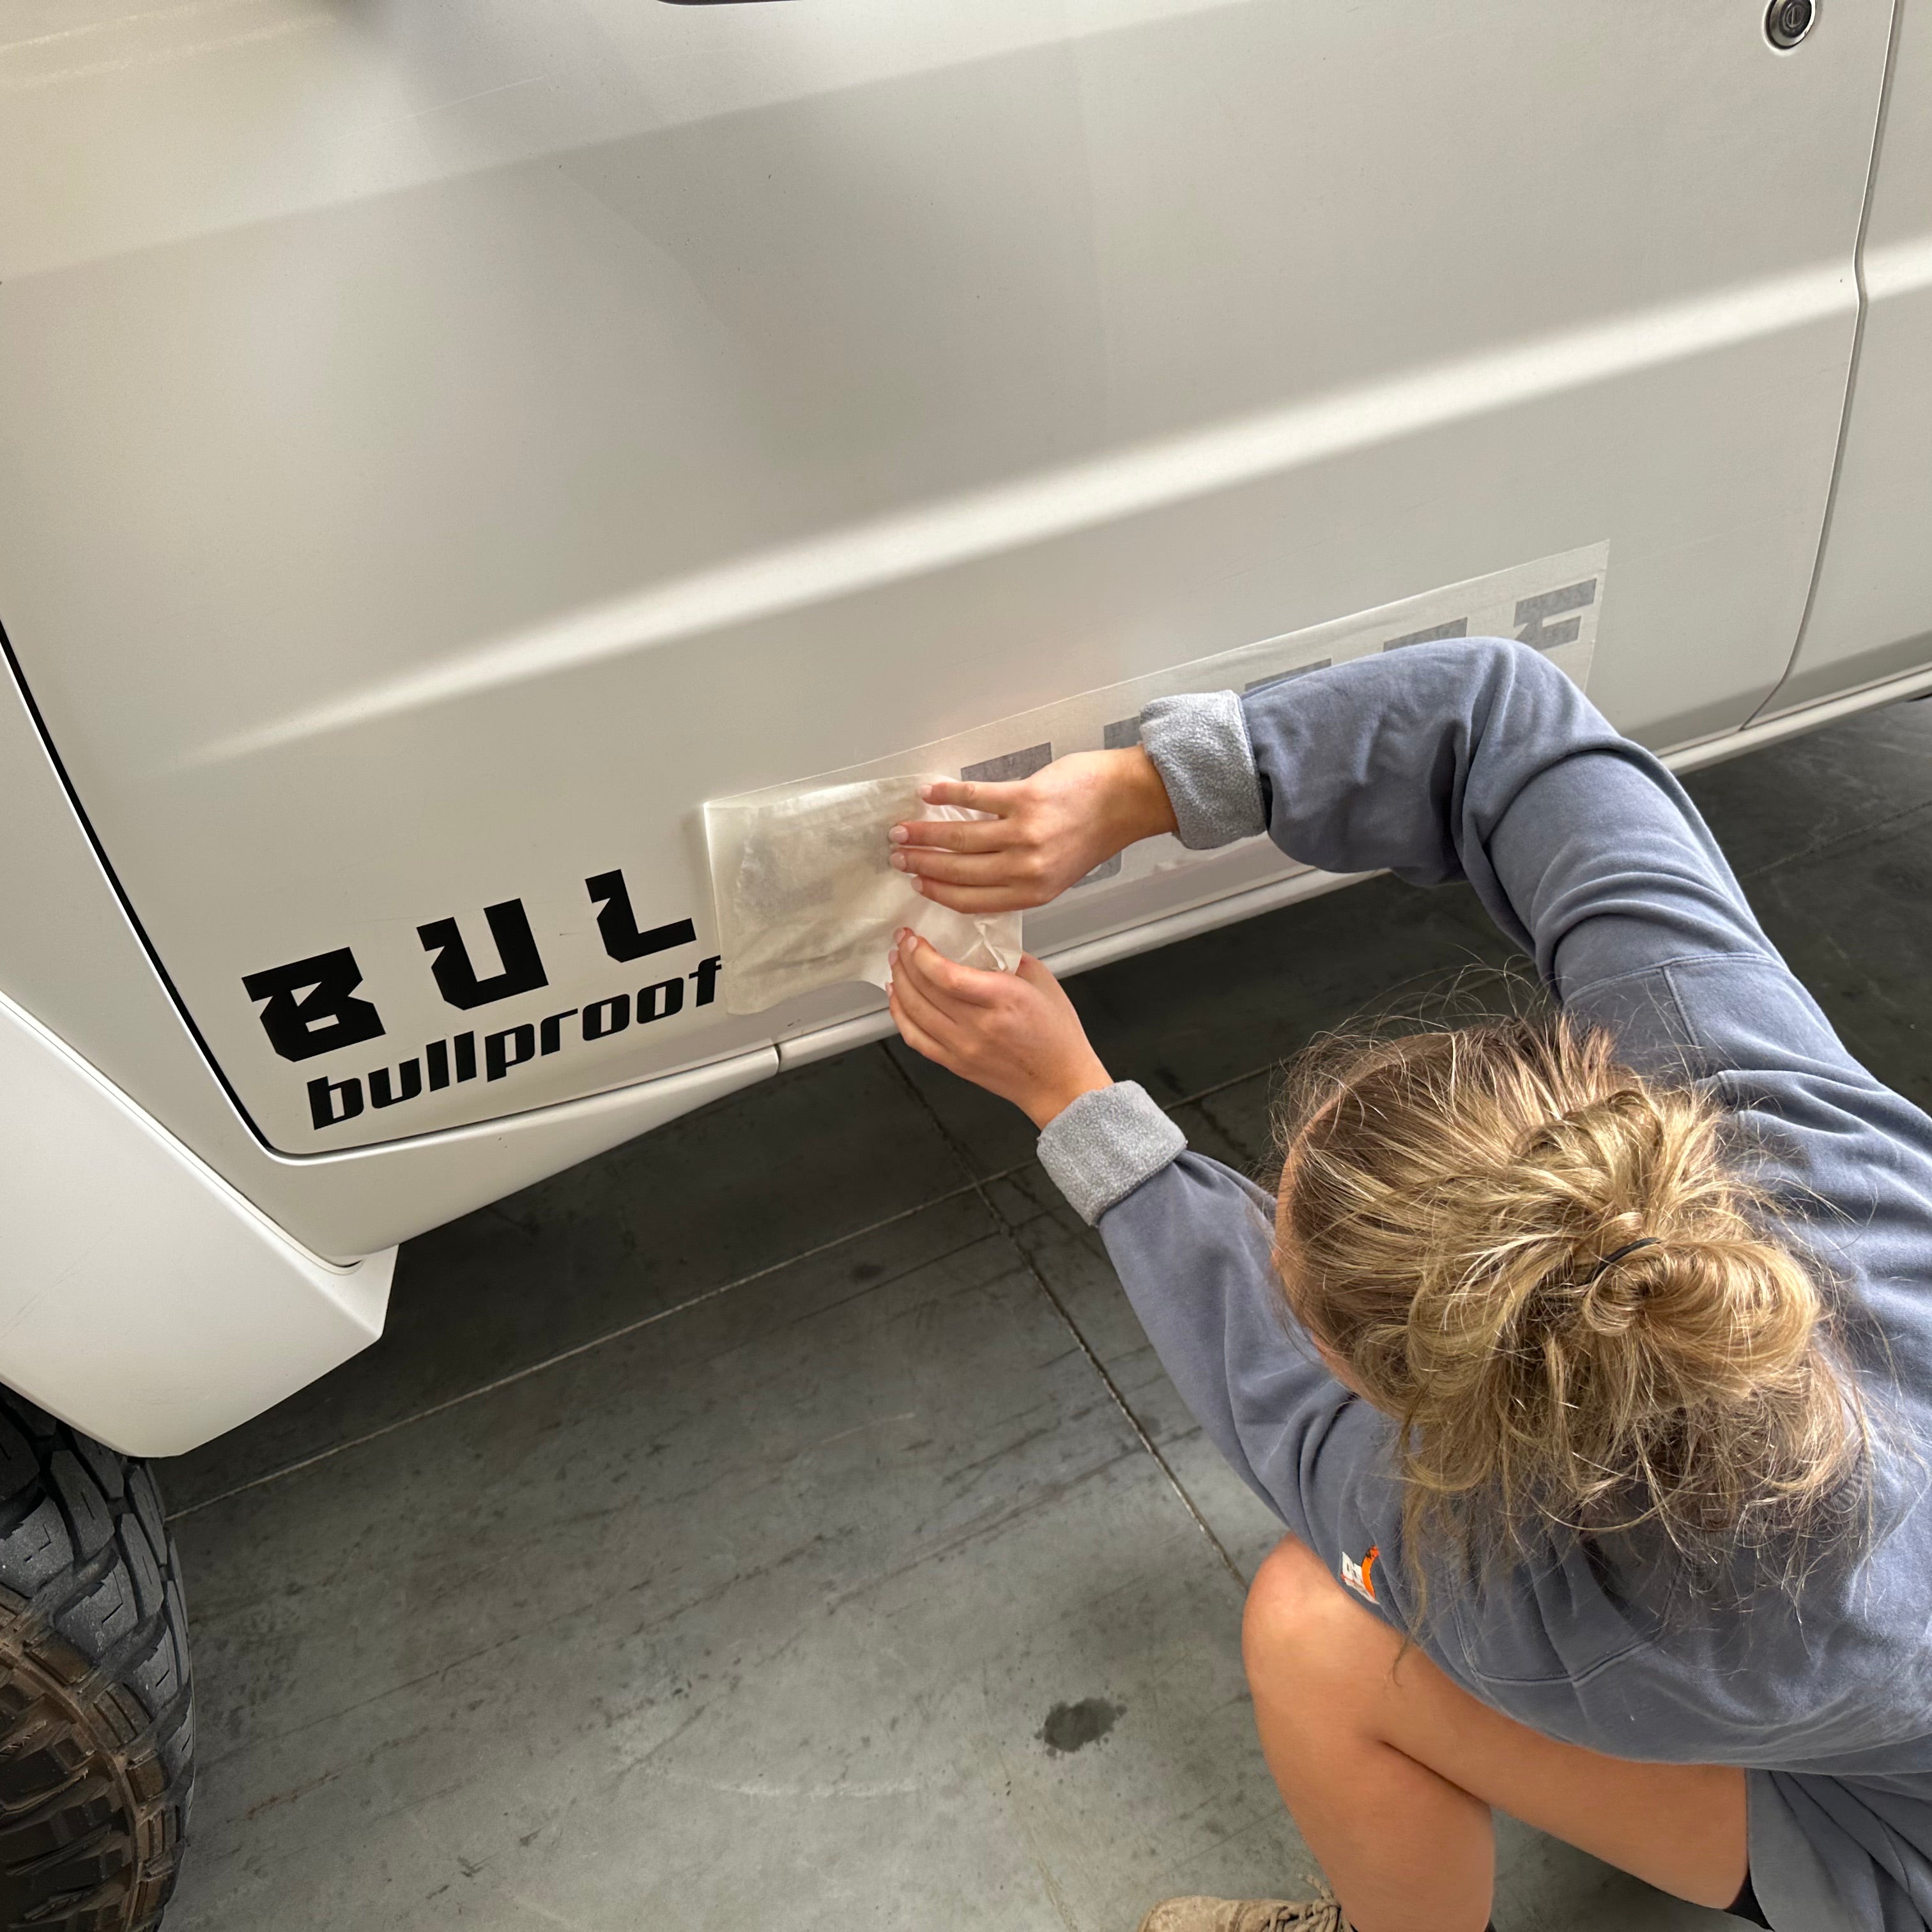
After 10-15min, gently peel the application tape off at a right angle or parallel to the surface. Avoid pulling the application tape to quick or upwards as you may damage the sticker.
Admire
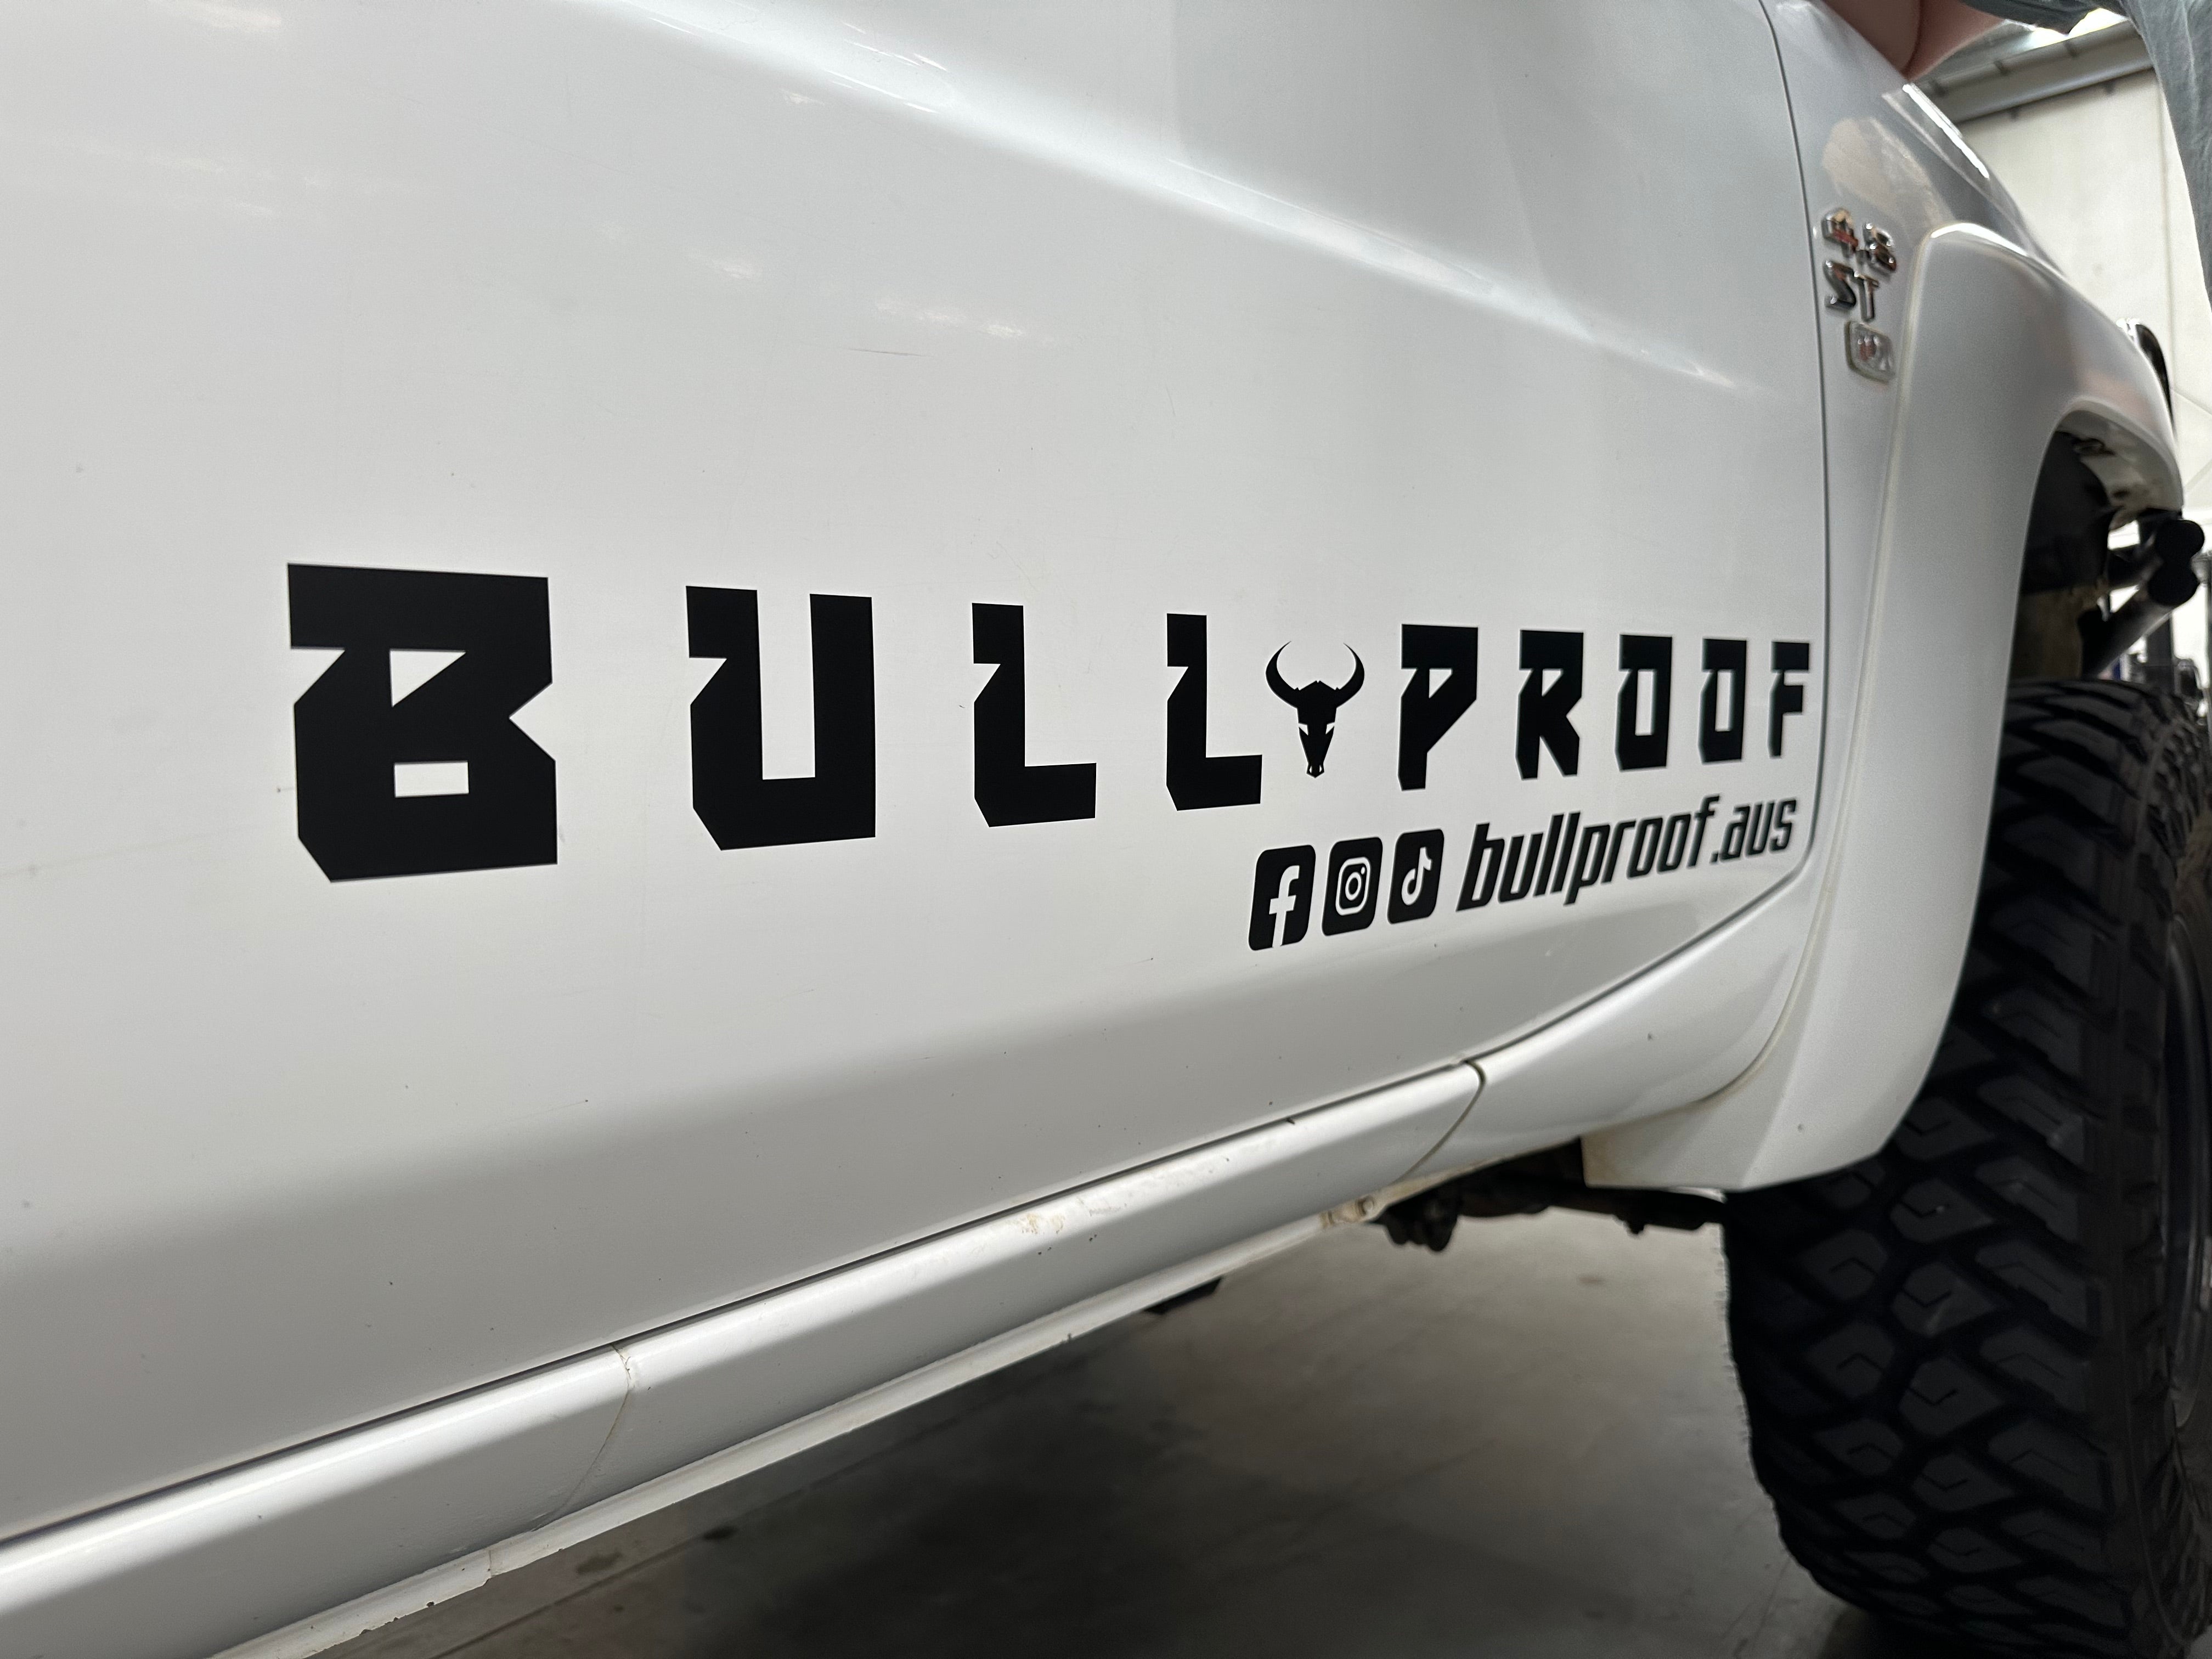
Now take a step back to admire your handy work and the sexy new sticker/s on your vehicle!

